While we push into the fall for our camping season when school back is session it does make getting out more difficult. In addition to our schedule getting busy, it becomes more challenging to constantly monitor the weather and decide if it is going to drop below freezing or not and whether an un-winterized trailer will survive the fall cold fronts. While I have winterized and dewinterized to stretch the season, this becomes tedious.
So, sometime after Columbus Day weekend and after completing the interior winterizing (Linens and Soft Goods, Refrigerator, and Water System) we watch for a free weekend that is calm, sunny, and hopefully warm to install the covers on the trailer. Because of the risk of working on the trailer roof and moving a large fabric cover, I always having a second person with me to call for help if needed.
For cover installation, I use the following:
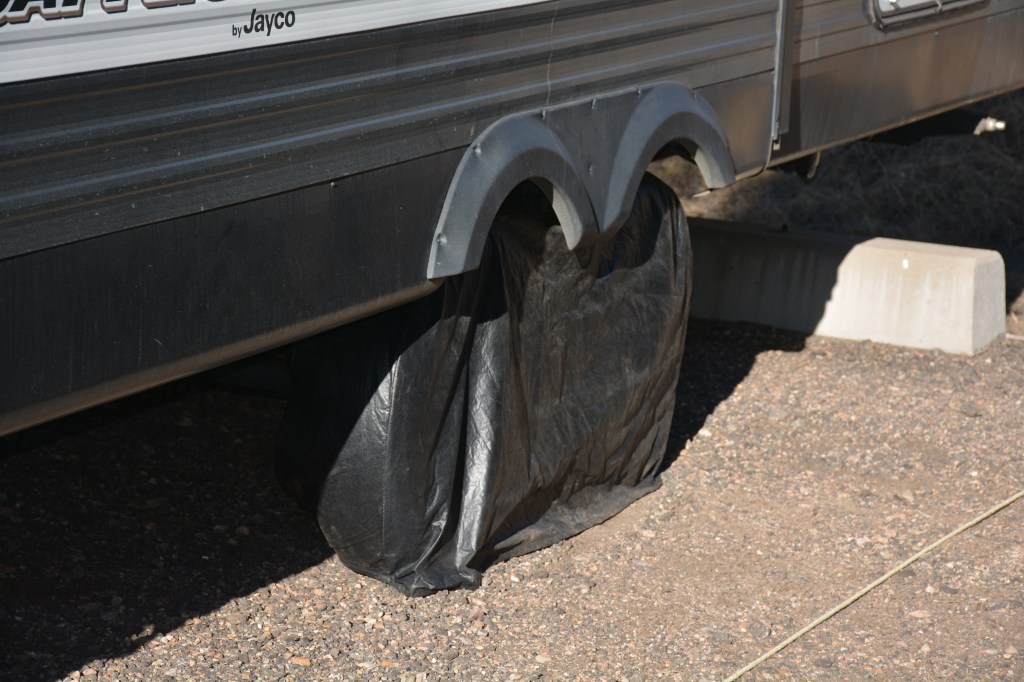
- Tire Covers (SWW Stuff: Tire Covers)
- Trailer Cover (SWW Stuff: Trailer Cover)
- Gorilla Tape (For Repairs)
- A Ladder (6 ft or 8 ft)*
- Six Clean, Old Socks
- Scissors*
- Non-Marking Shoes (For working on roof)
- Anything needed to be put in the trailer over the winter. (Linens, Refrigerator, etc)
- Roof Repair Supplies (See Checklists Save Time Post)
* Product links are similar to products we use, but not the exact items we own.
While the tire covers can be put on after the trailer cover, I start by installing these. (See SWW Stuff: Tire Covers for more details on tire covers.) Installing the tire covers is a great job for the kids and they are eager to get started, as it means they get to crawl around under the trailer. While they get started on this job while I prepare the interior and trailer cover.
Prior to starting with the trailer cover I perform a final inspection of the interior of the trailer: make sure there are no signs of water leaking, the doors are in the proper configuration, all items are removed that can’t stand freezing, and any last work I need to do one the trailer prior to the winter. This generally includes winterizing the refrigerator and moving the linens that will be stored in the trailer over the winter. Once the interior is complete, I move on to the cover.
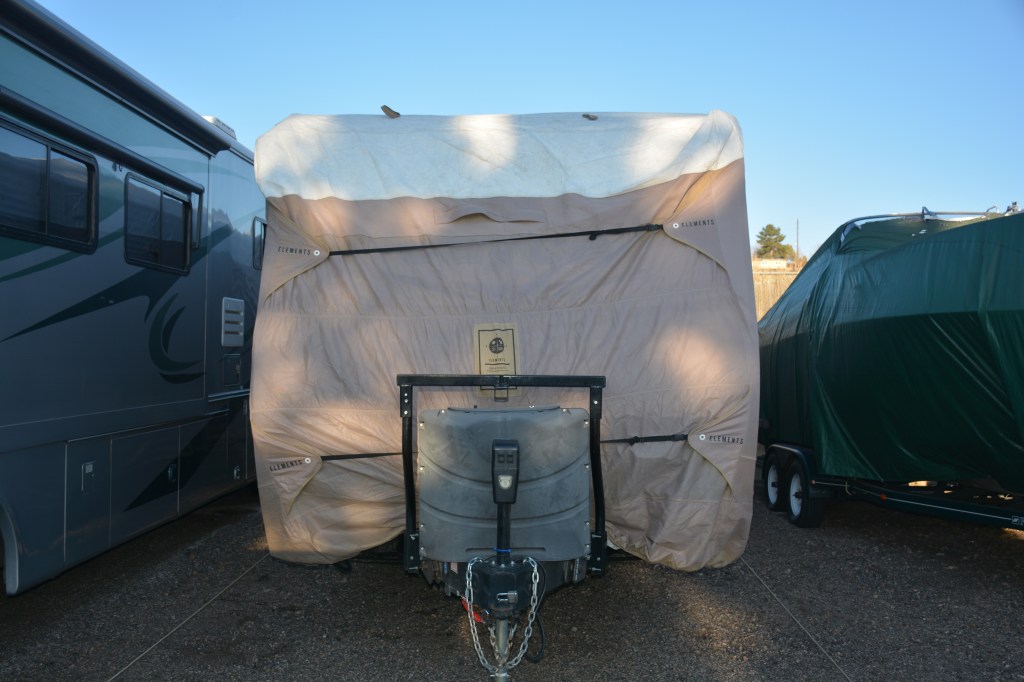
For the trailer, we have an Elements 28’7″ to 31’6″ trailer cover that we purchased our first winter from Camping World. (See SWW Stuff: Trailer Cover for more details)
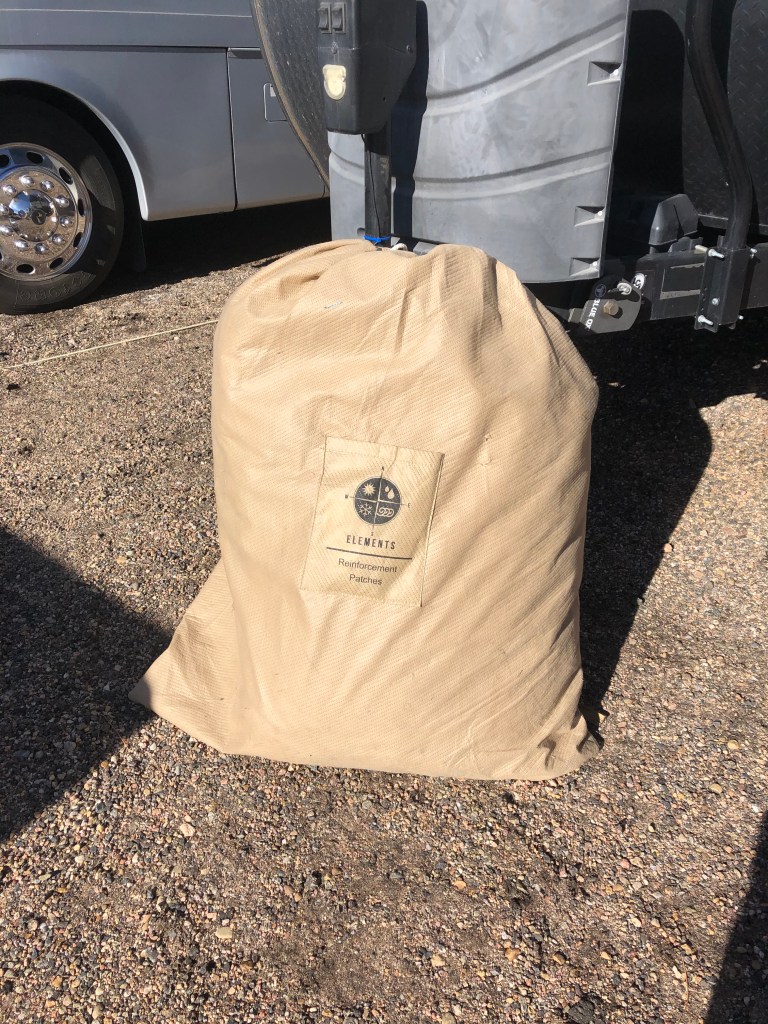
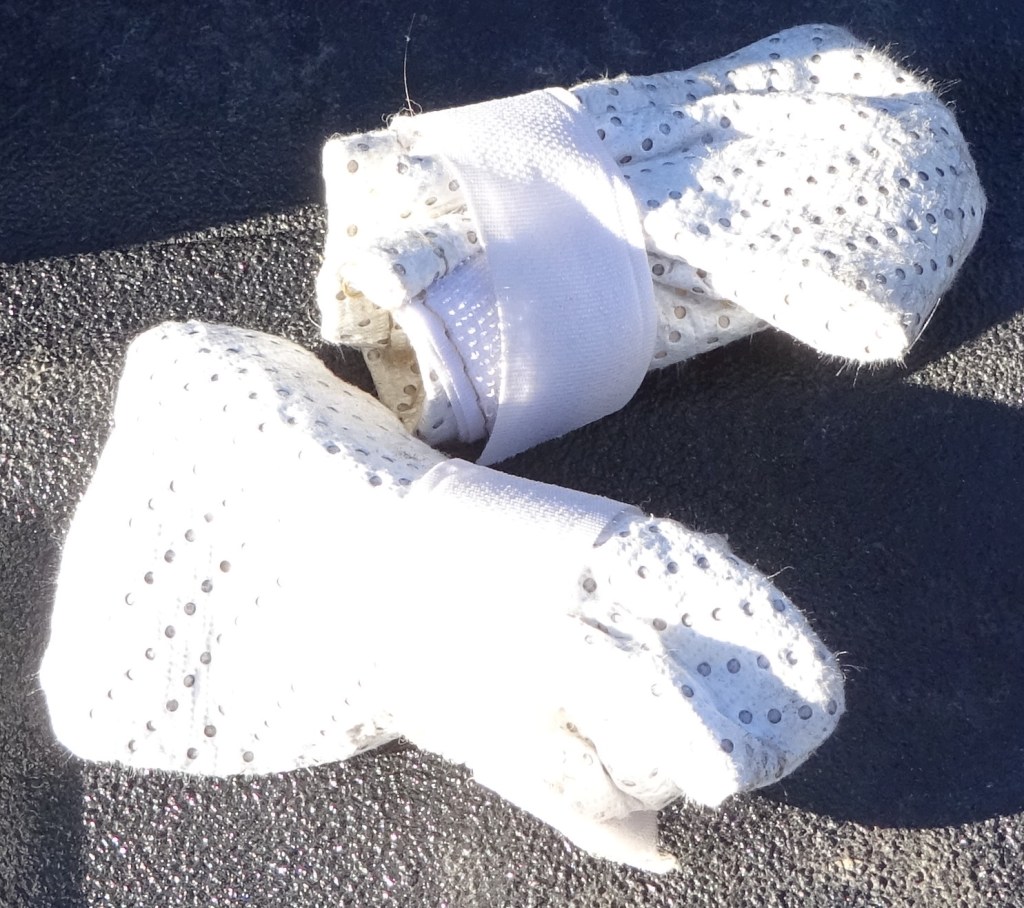
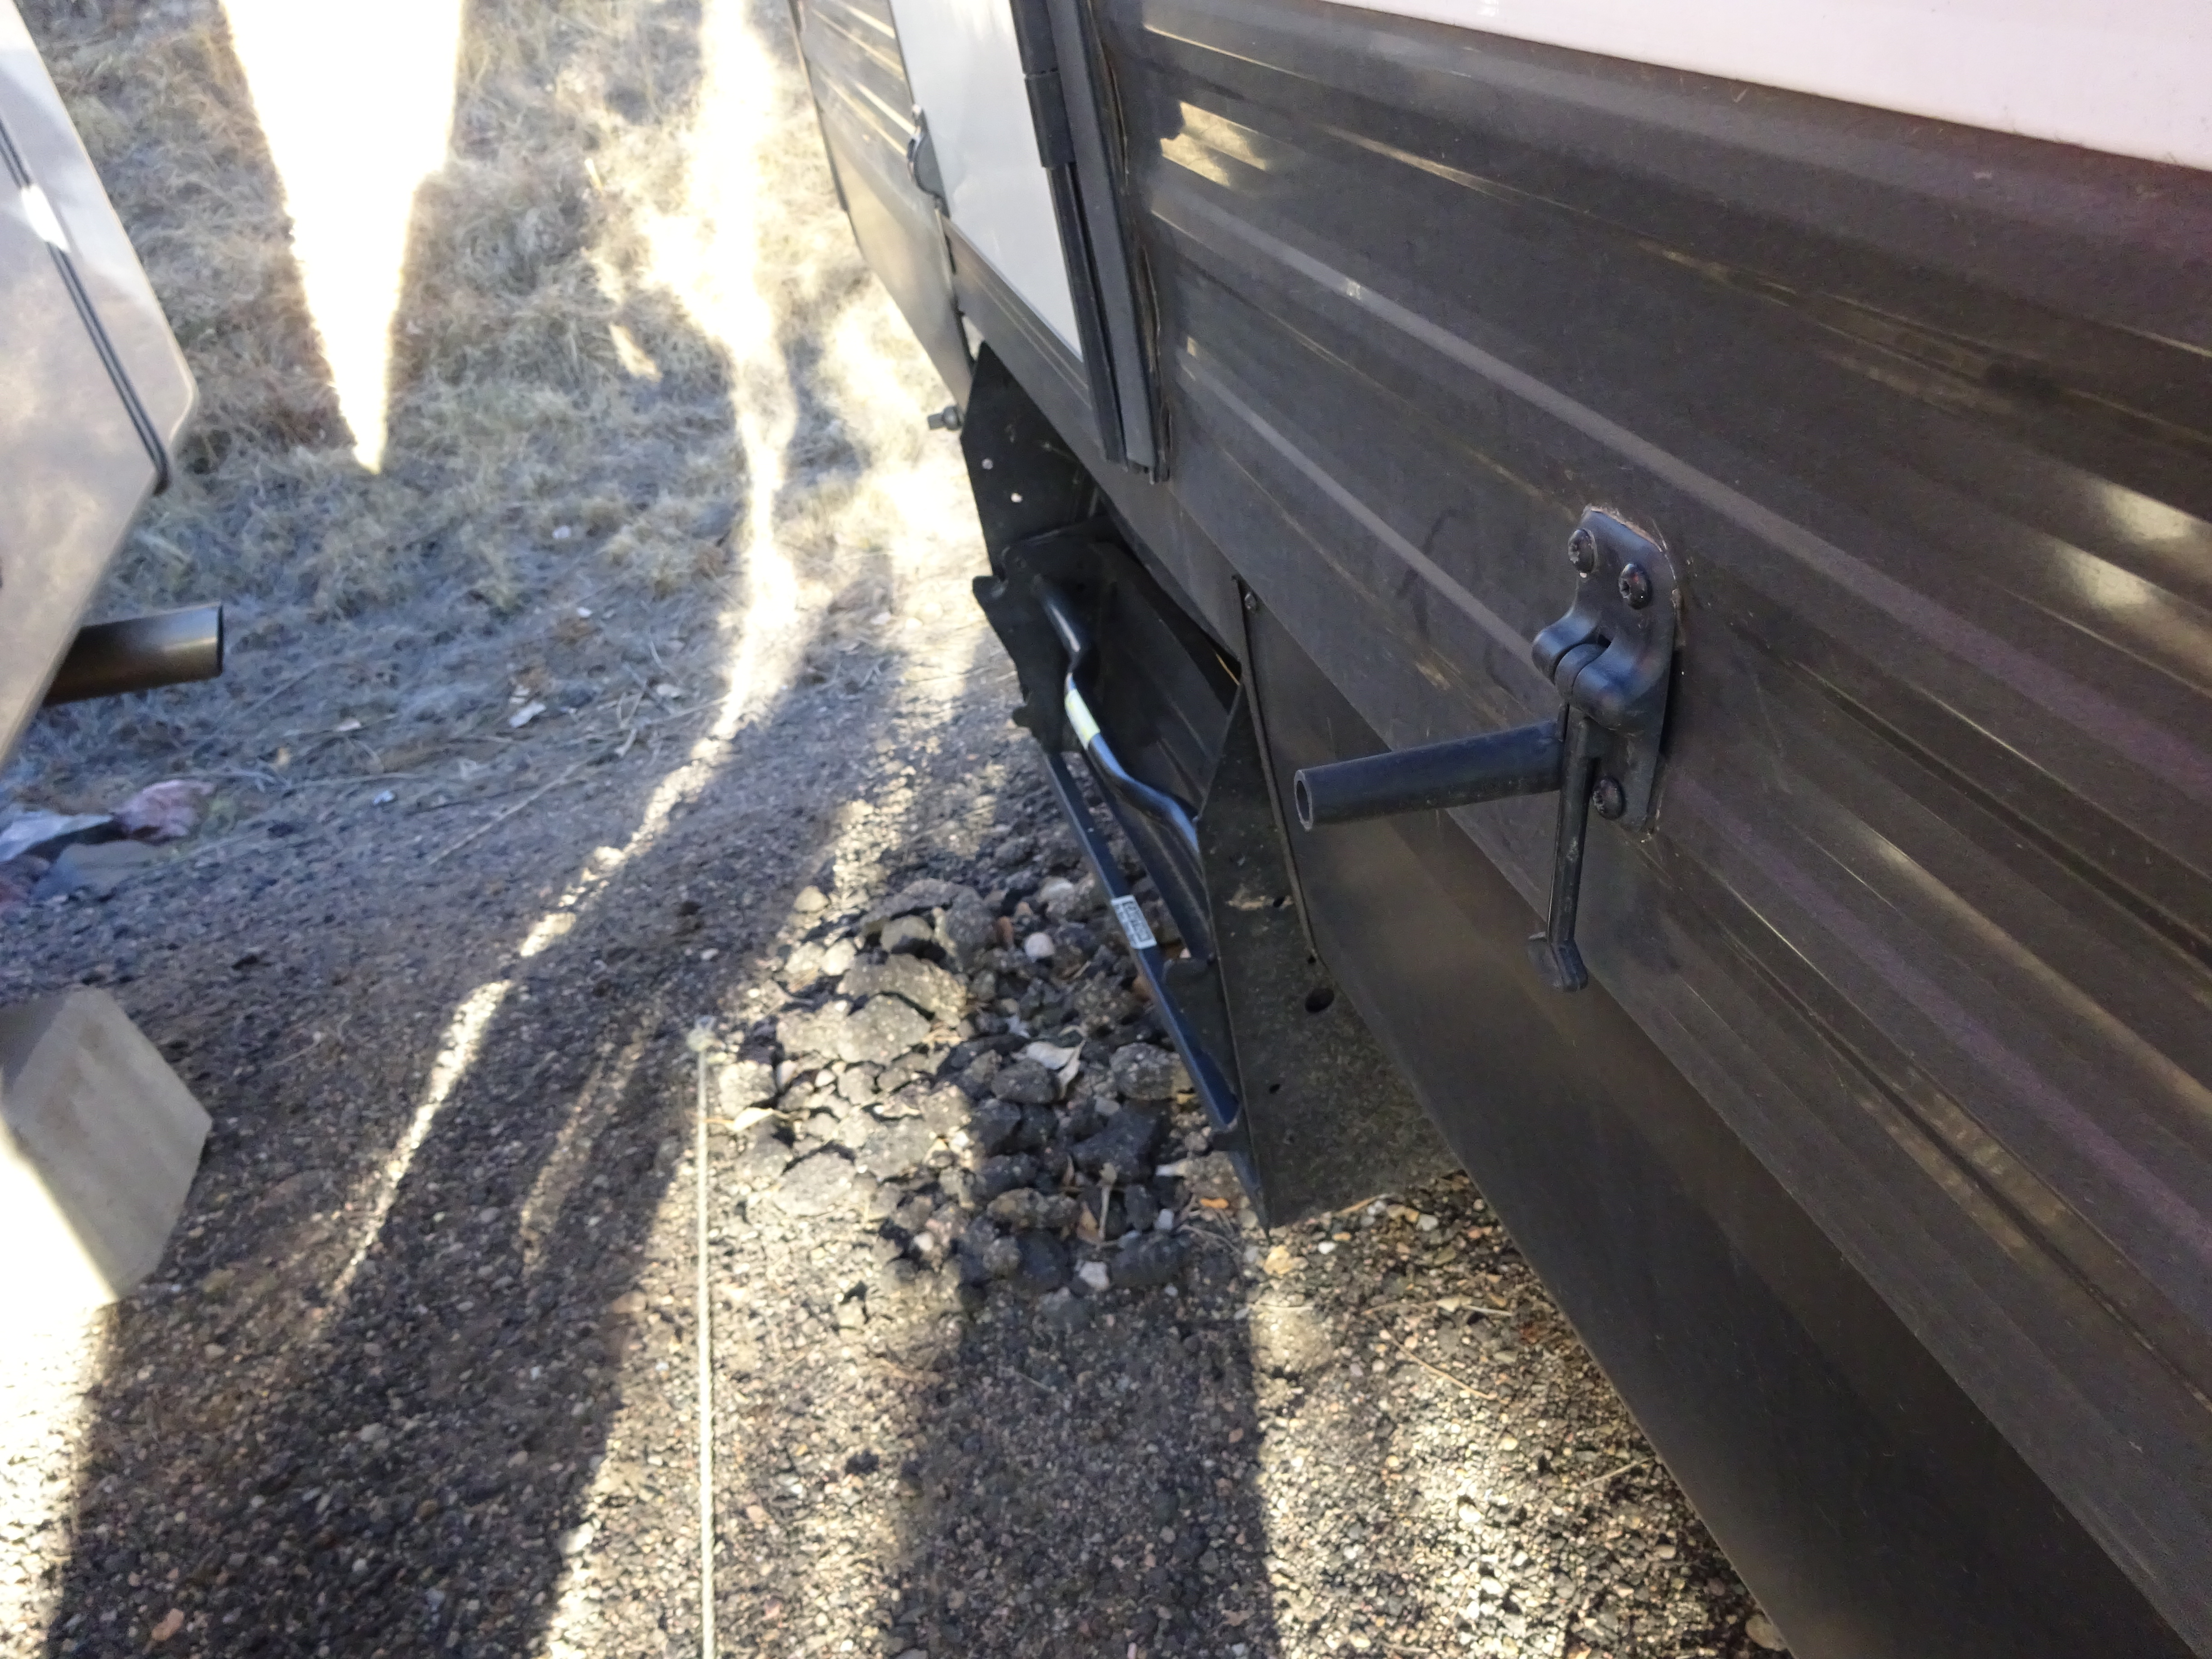
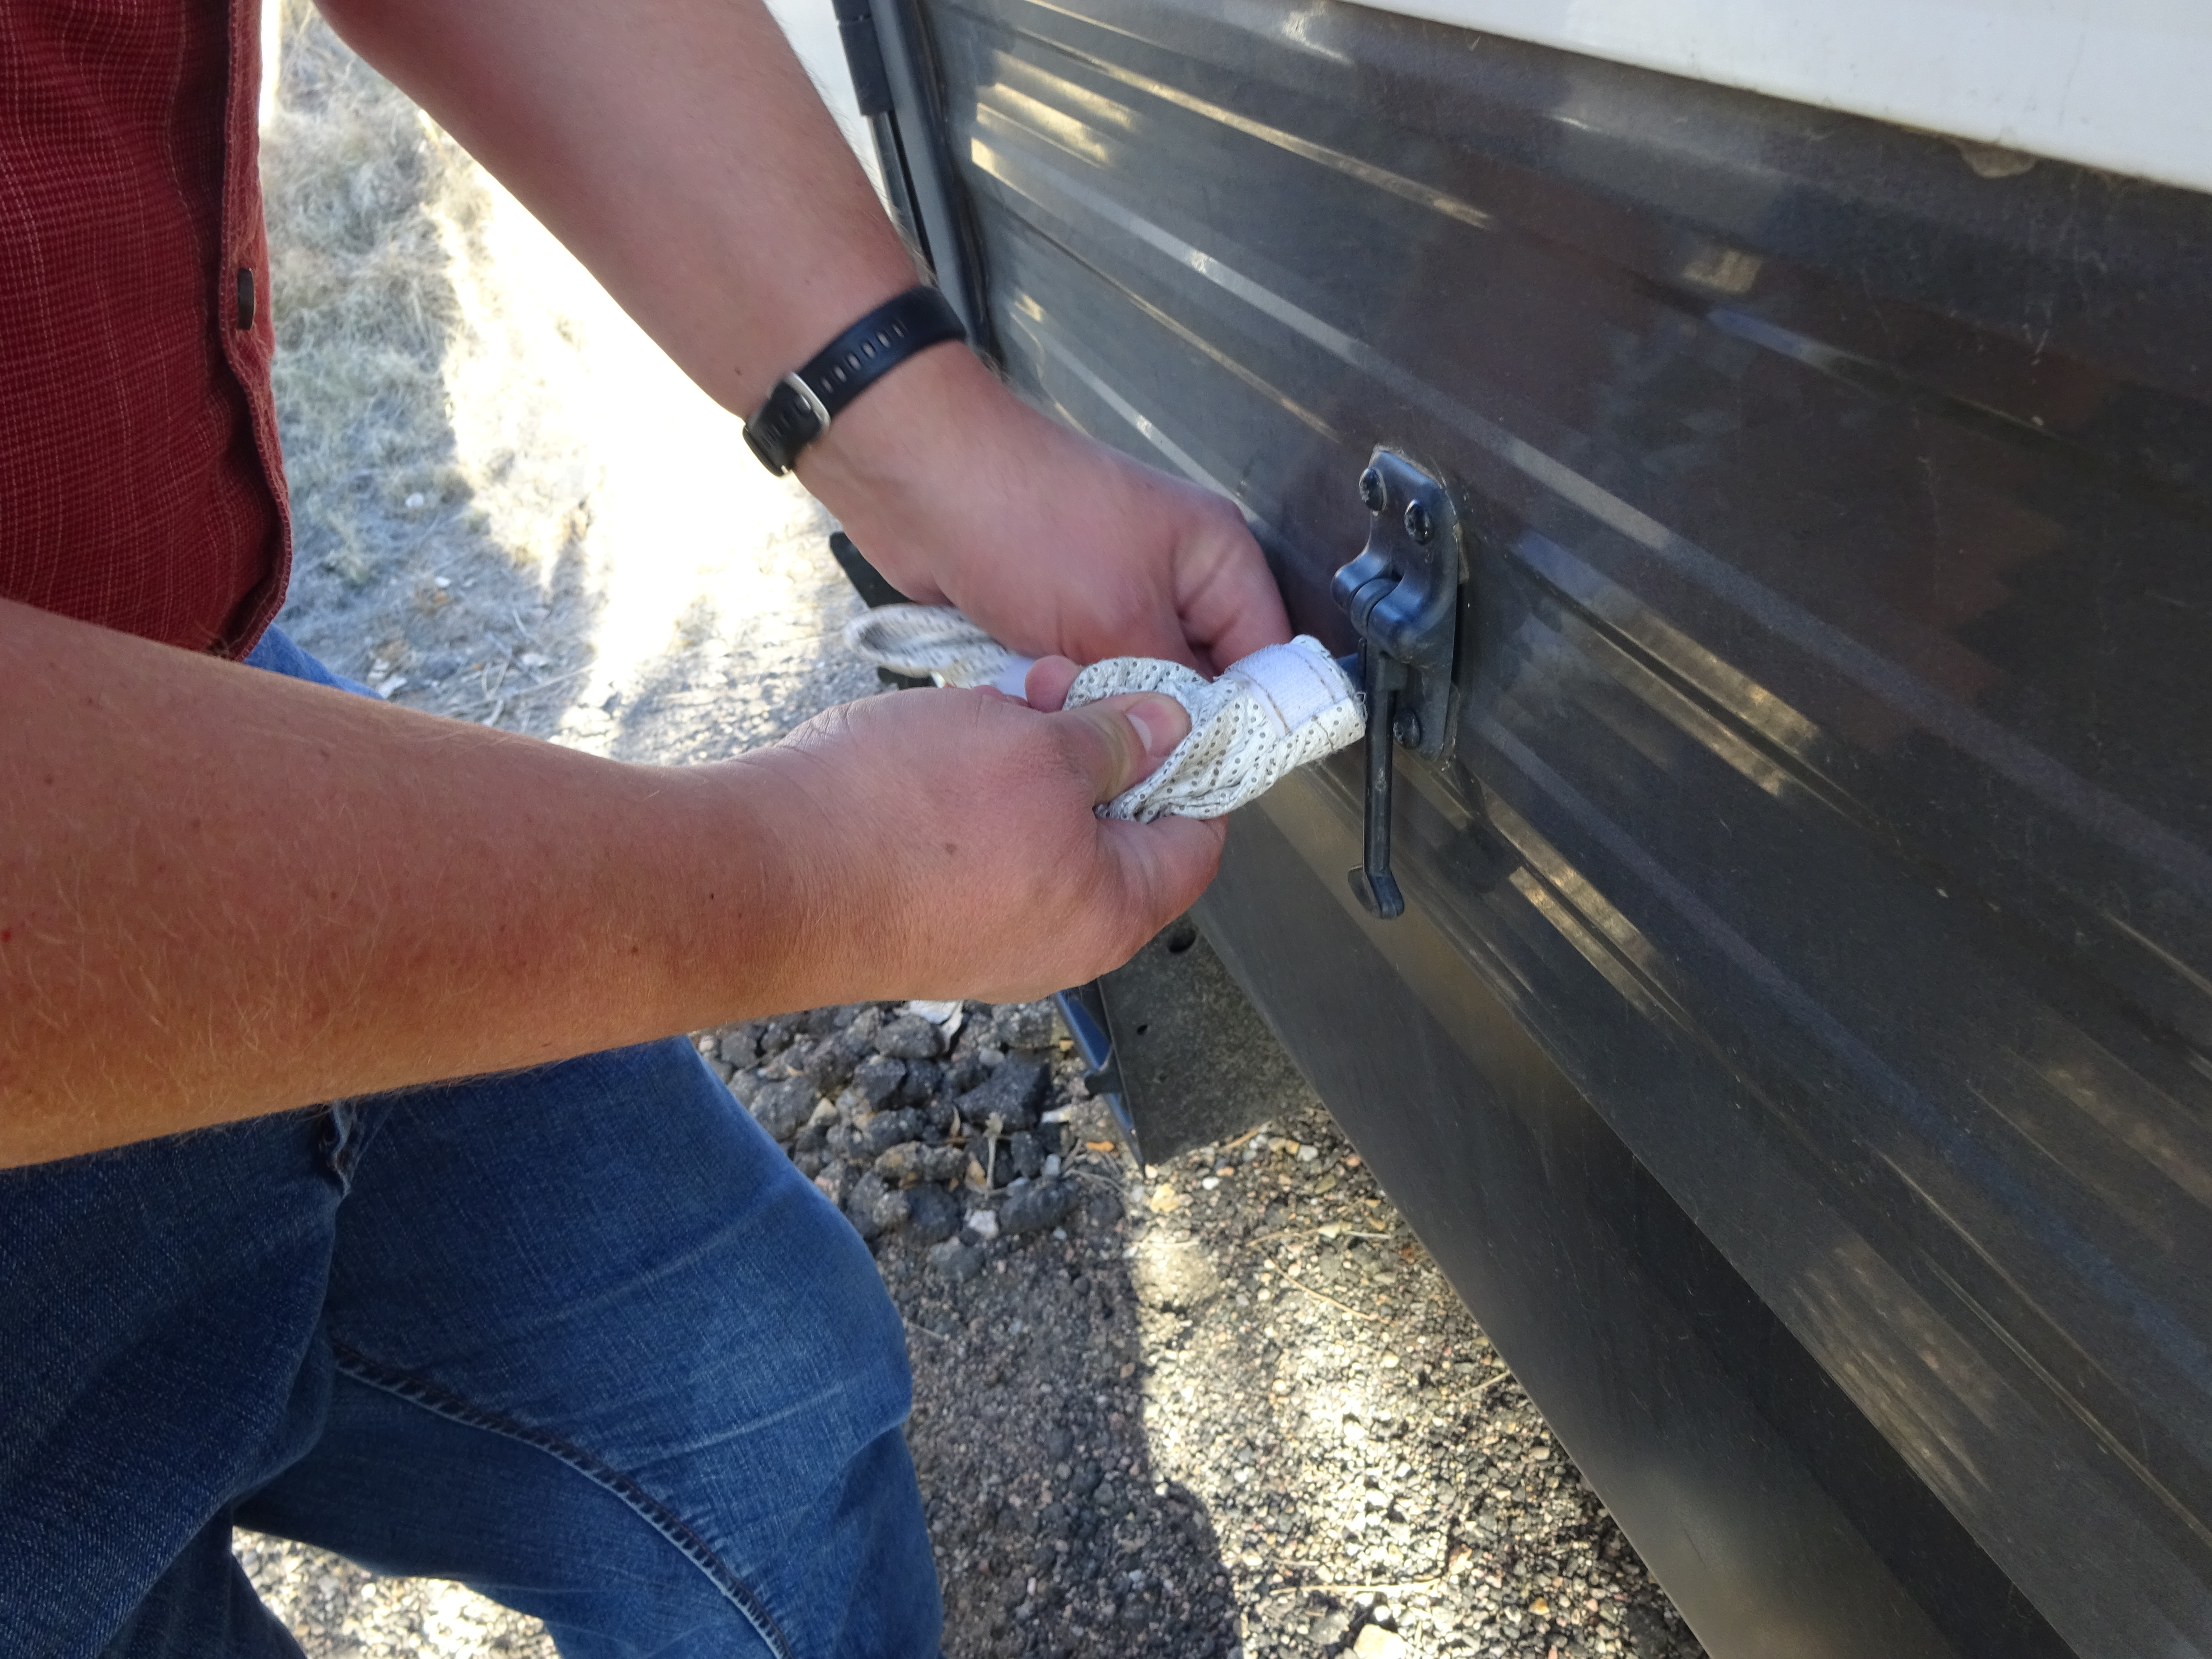
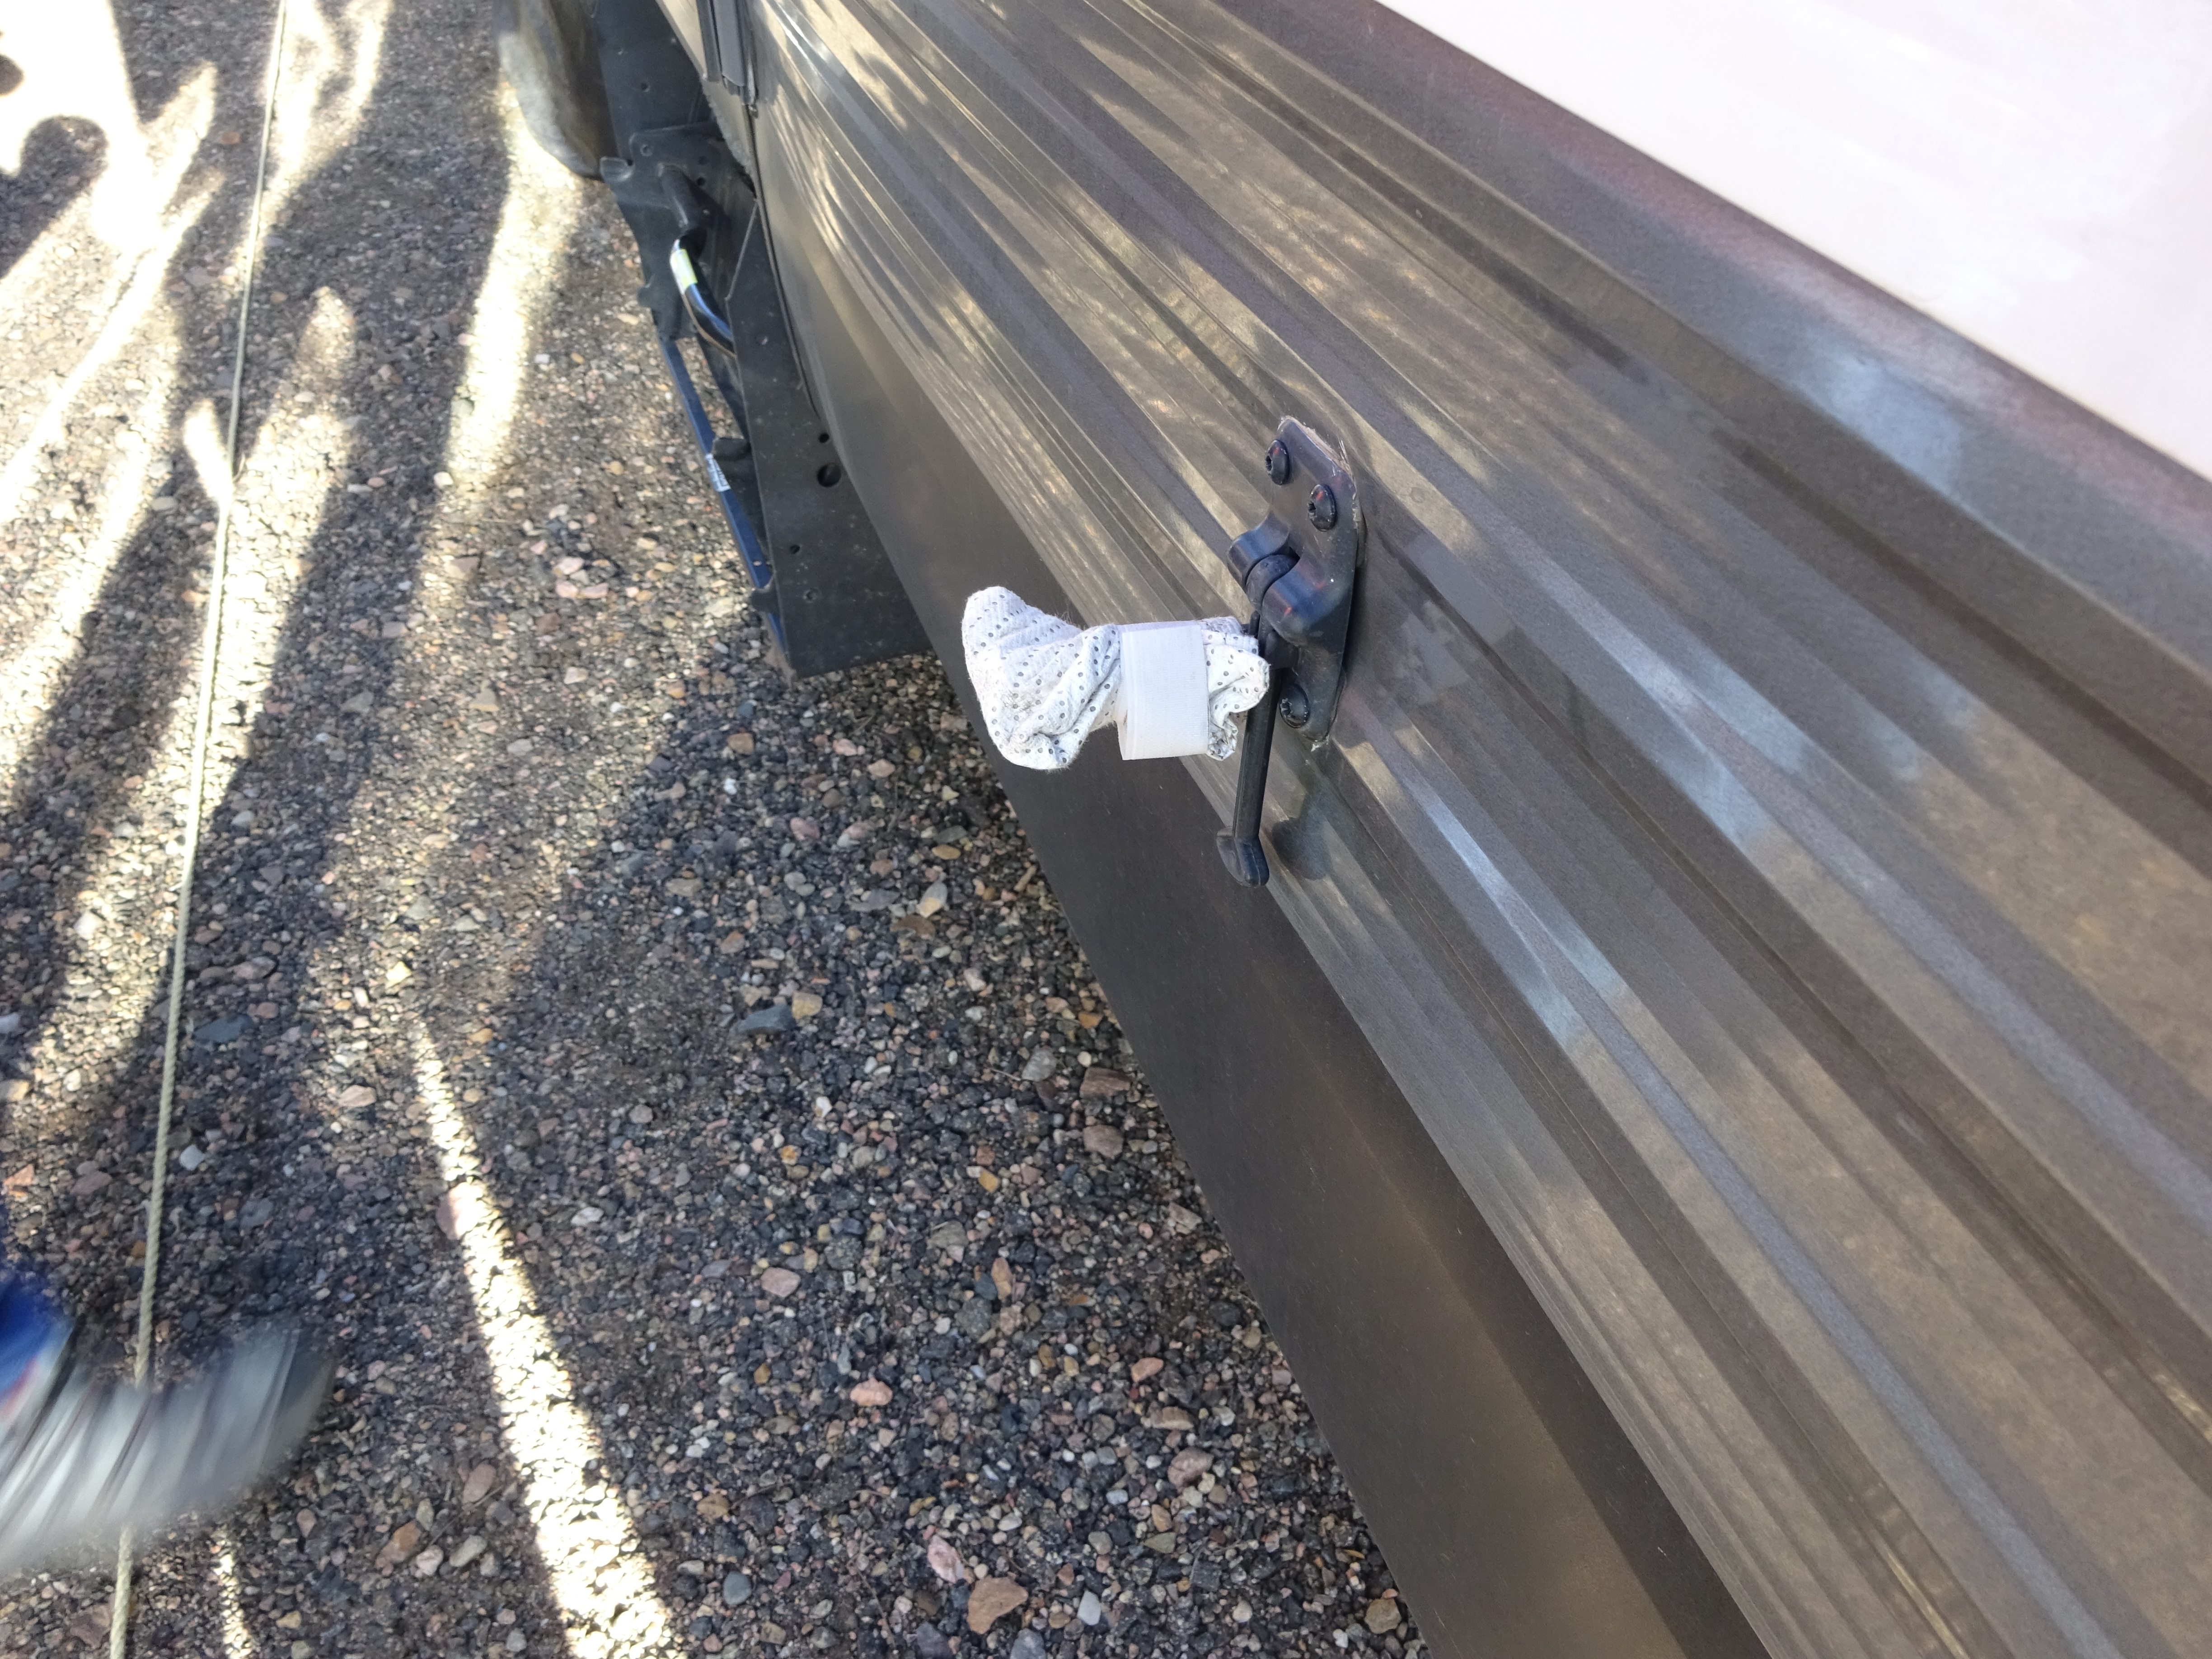
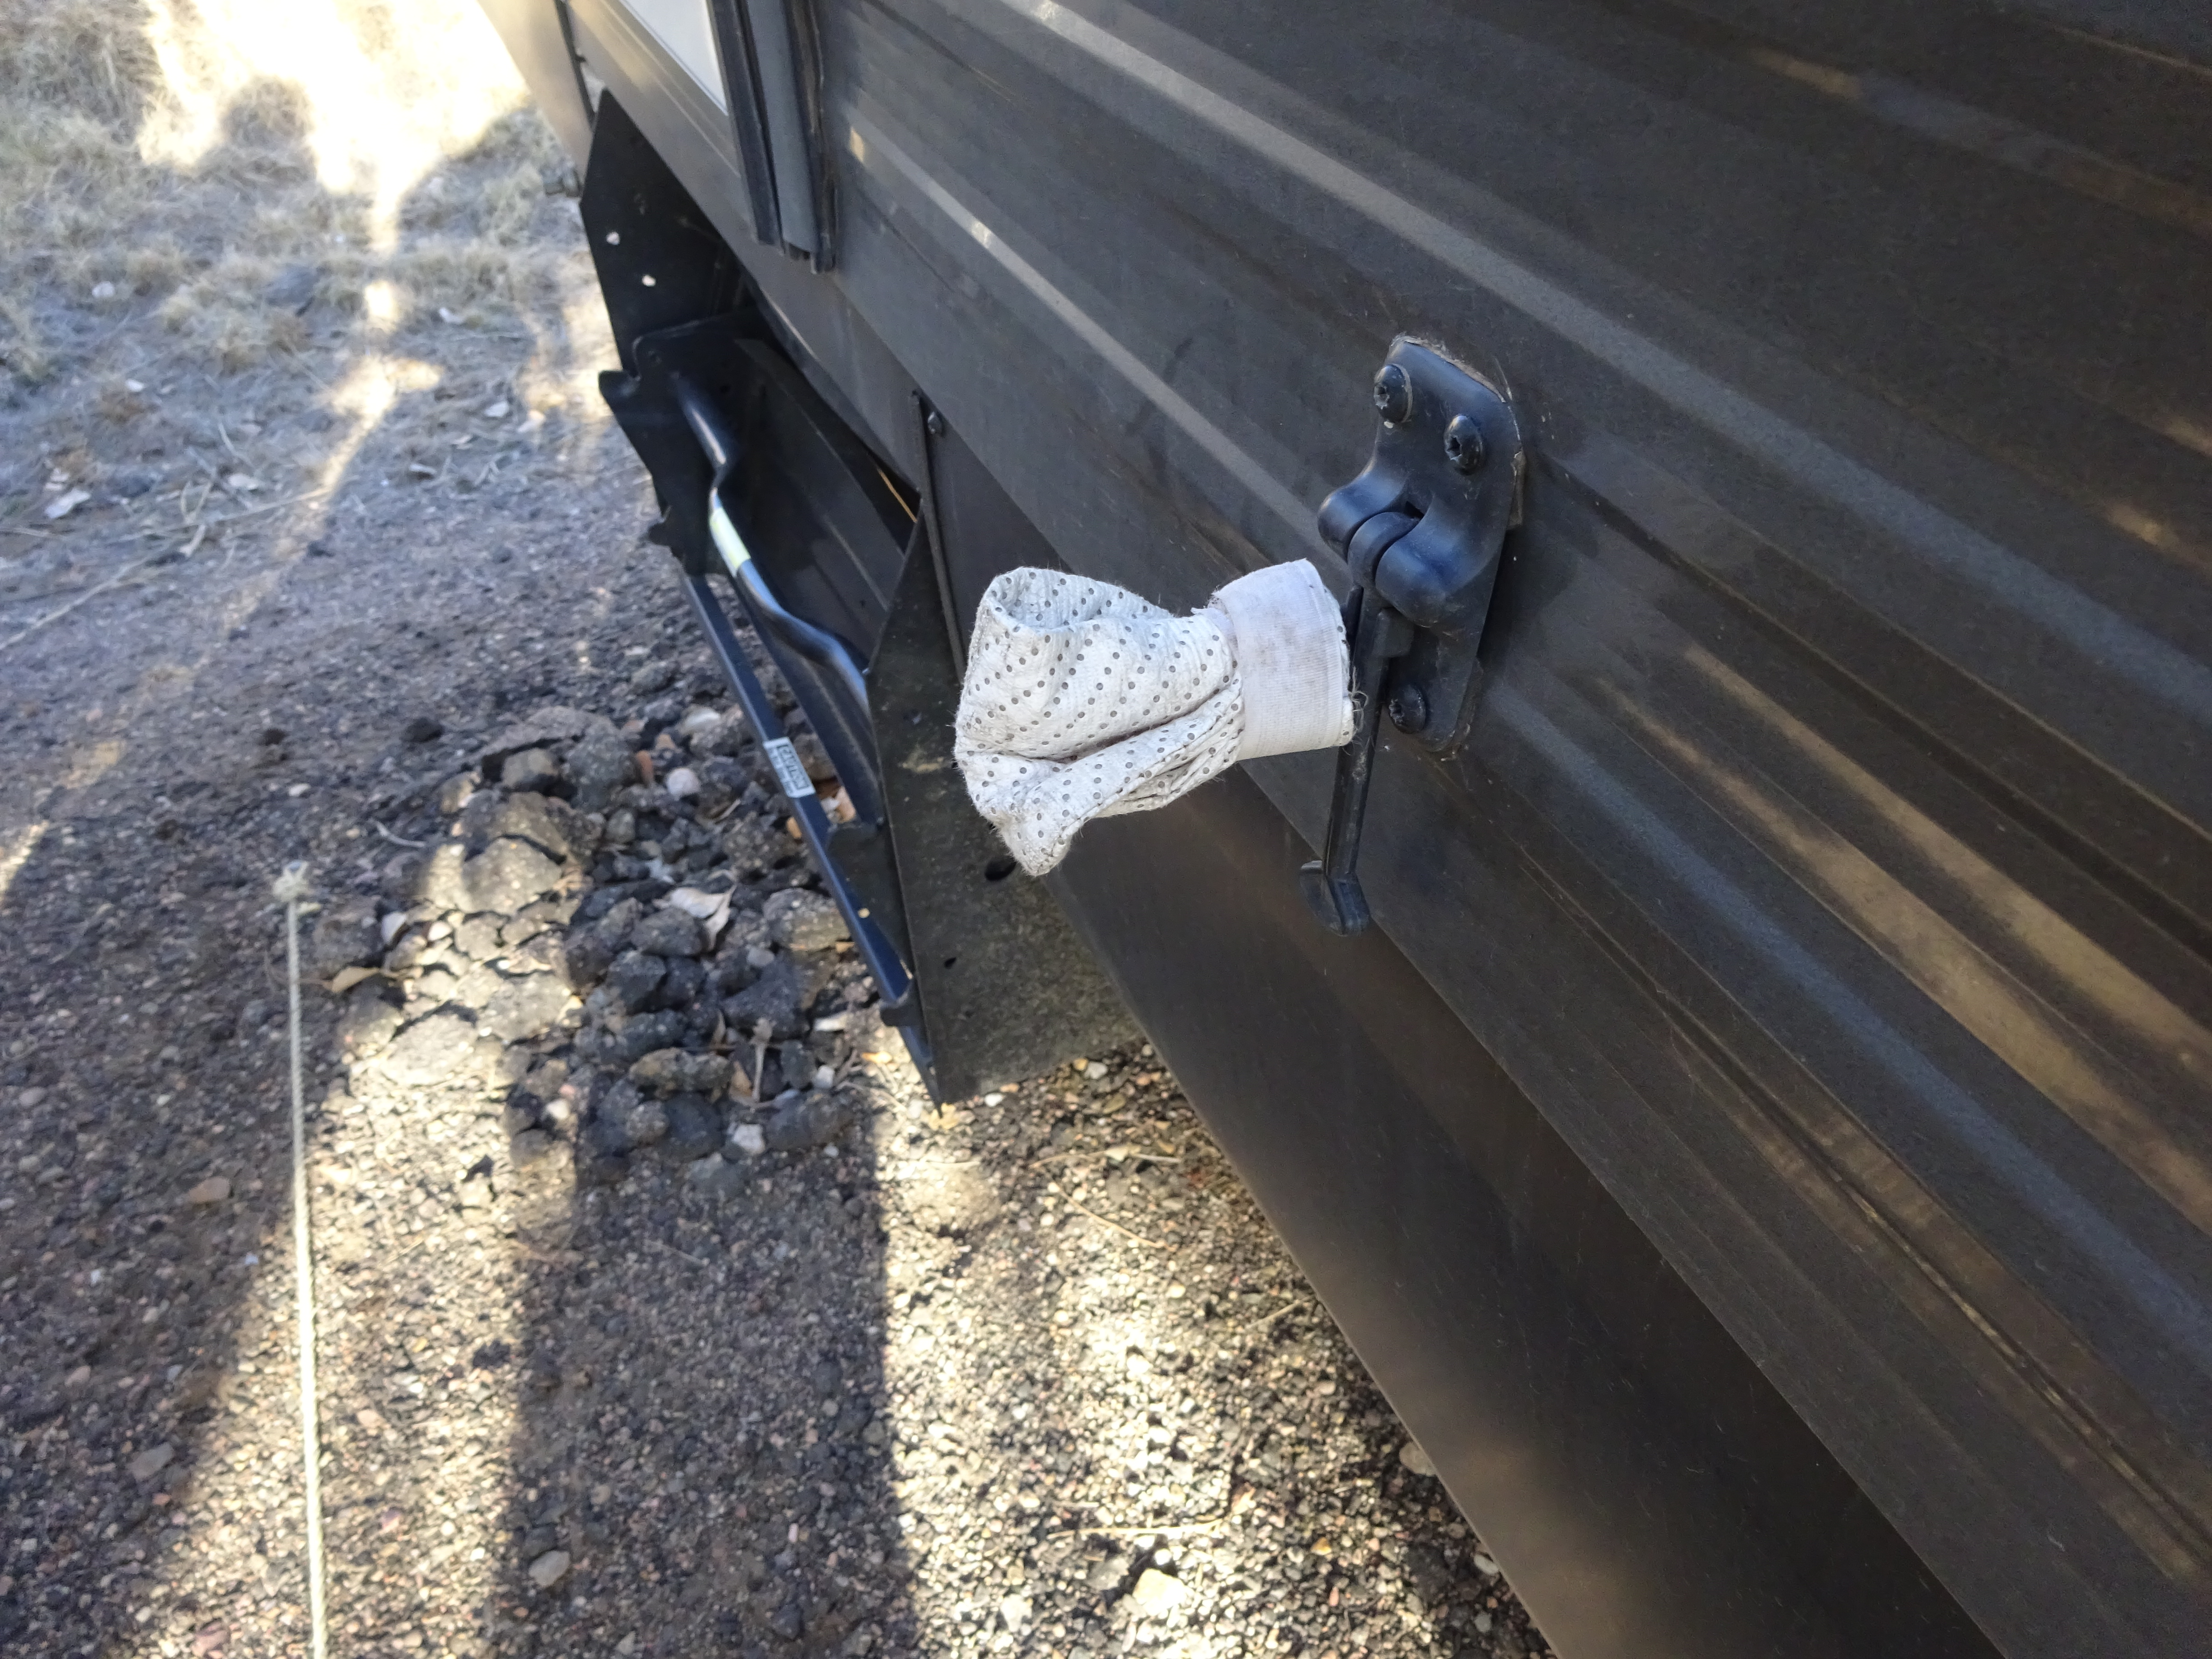
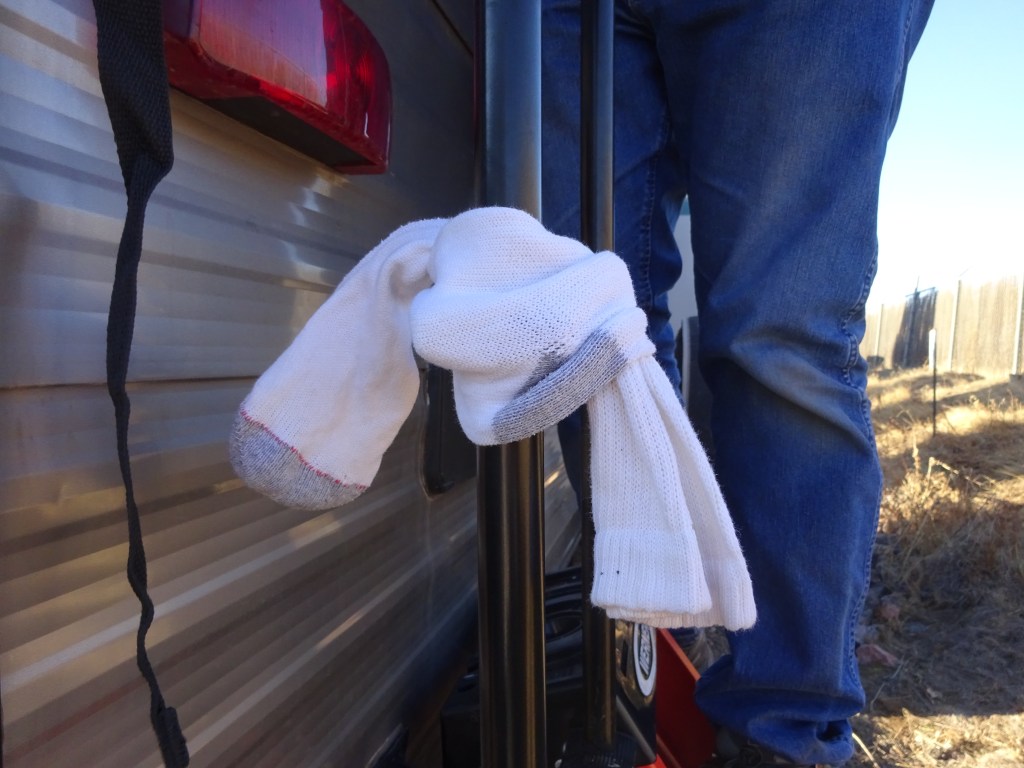
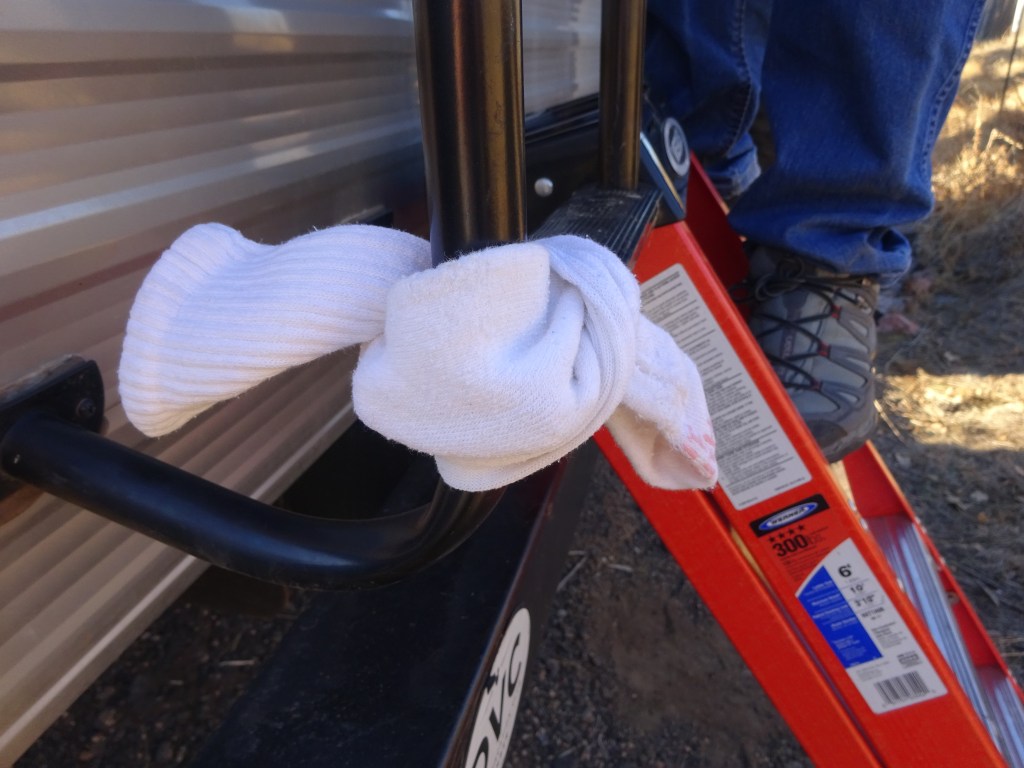
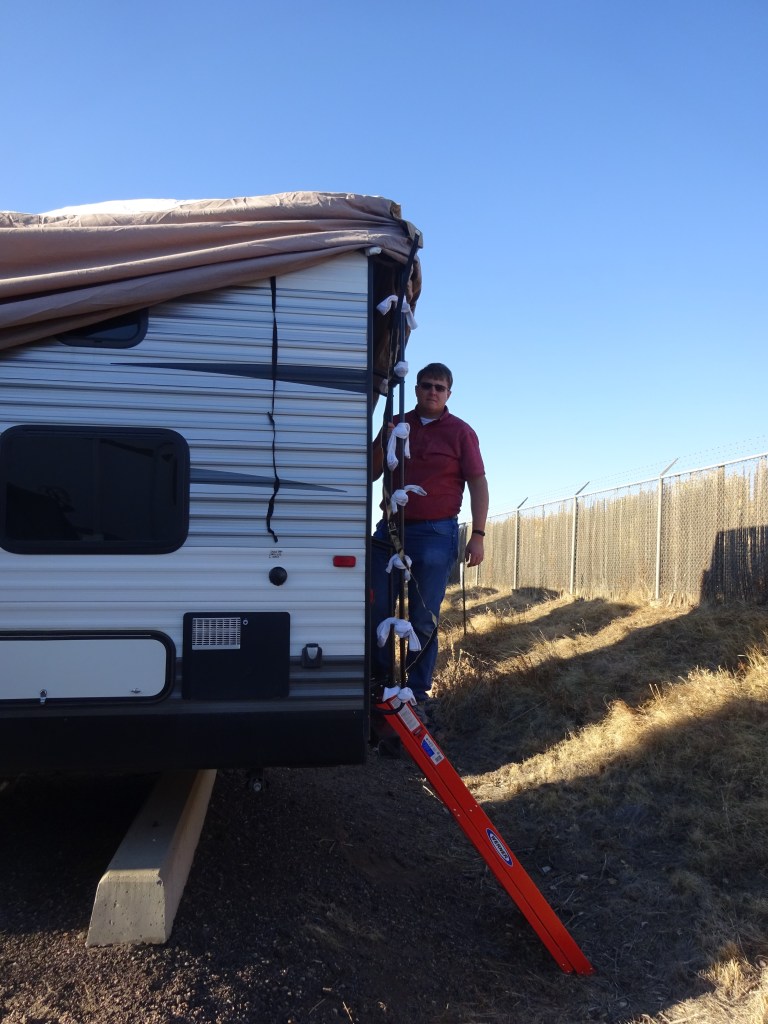
The next step is to add extra padding to all of the protruding parts of the trailer. In the case of our trailer it is: four down spouts, two door catches, and the edges of the ladder rungs. The Elements trailer cover came with eight covers for the protrusions which work well for the down spouts and door catches, but I need other materials for the ladder.
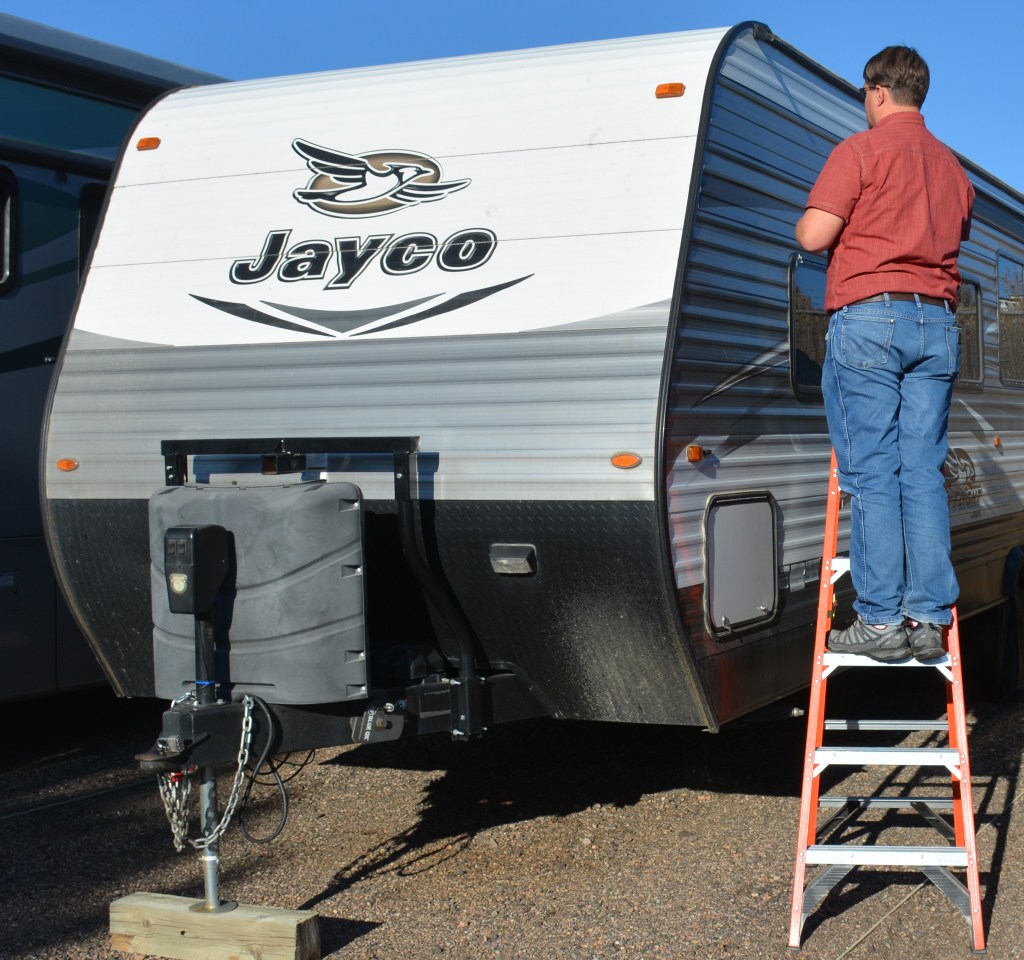
I find it is much easier to use a 6 foot ladder to access the down spouts from the ground instead of reaching out from the roof. While an 8 foot ladder would make access a little easier, it wouldn’t fit in the bed of my truck as well. I bought my ladder from Home Depot, but for convenience here is a link to Amazon’s Choice (2019) 300 lb ladder: Louisville Ladder 6-Foot Fiberglass Ladder, 300 Pound Capacity. Since I am a larger guy, I choose the 300+ lb ladders to hold my weight and anything I am carrying.
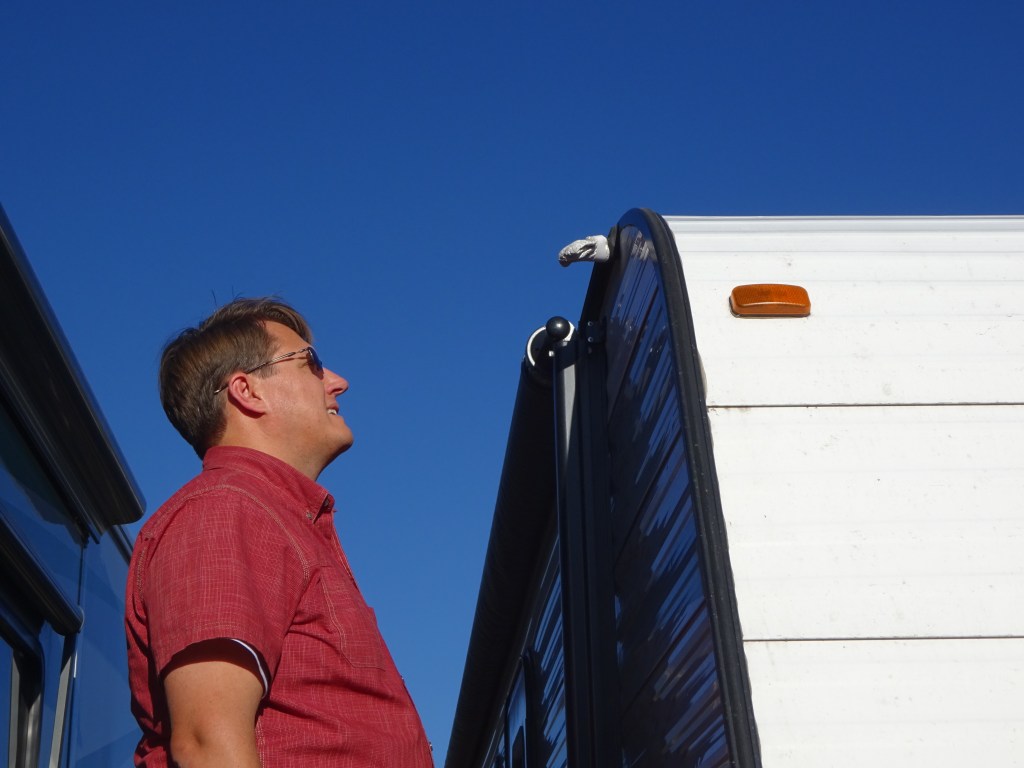
For the trailer ladder, I generally wait to install the edge protection until I am pulling the cover down the back. I use old socks that I tie around the edge of the ladder that the cover will be pulled against. I have not had a problem with the inner side of the ladder.
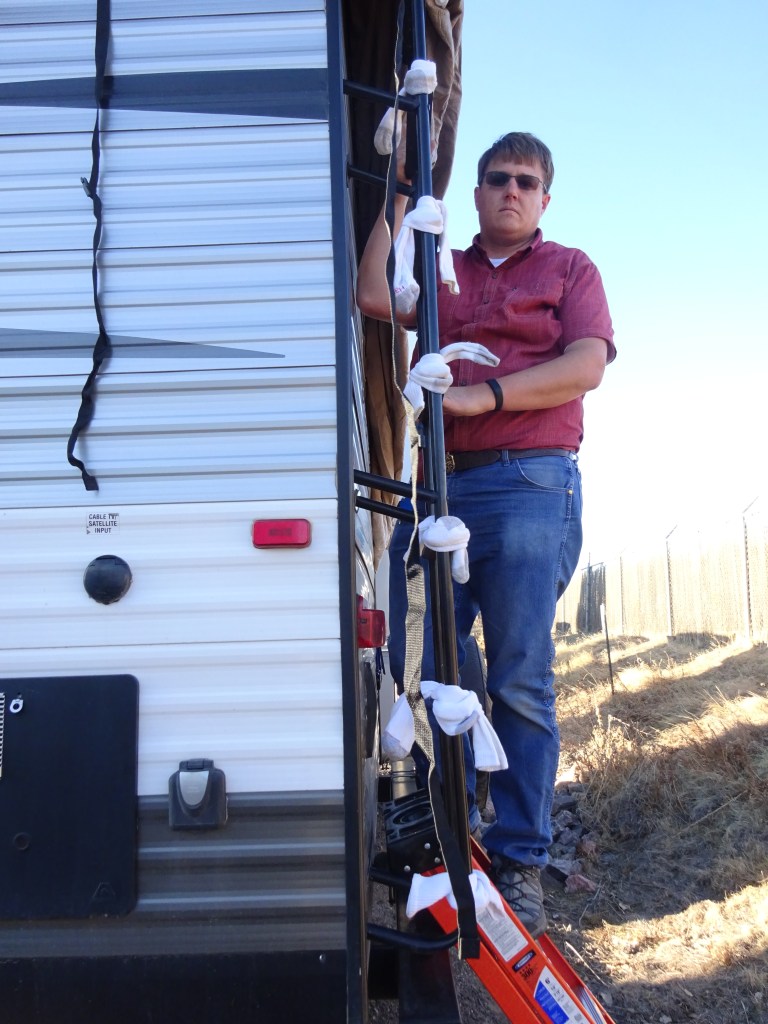
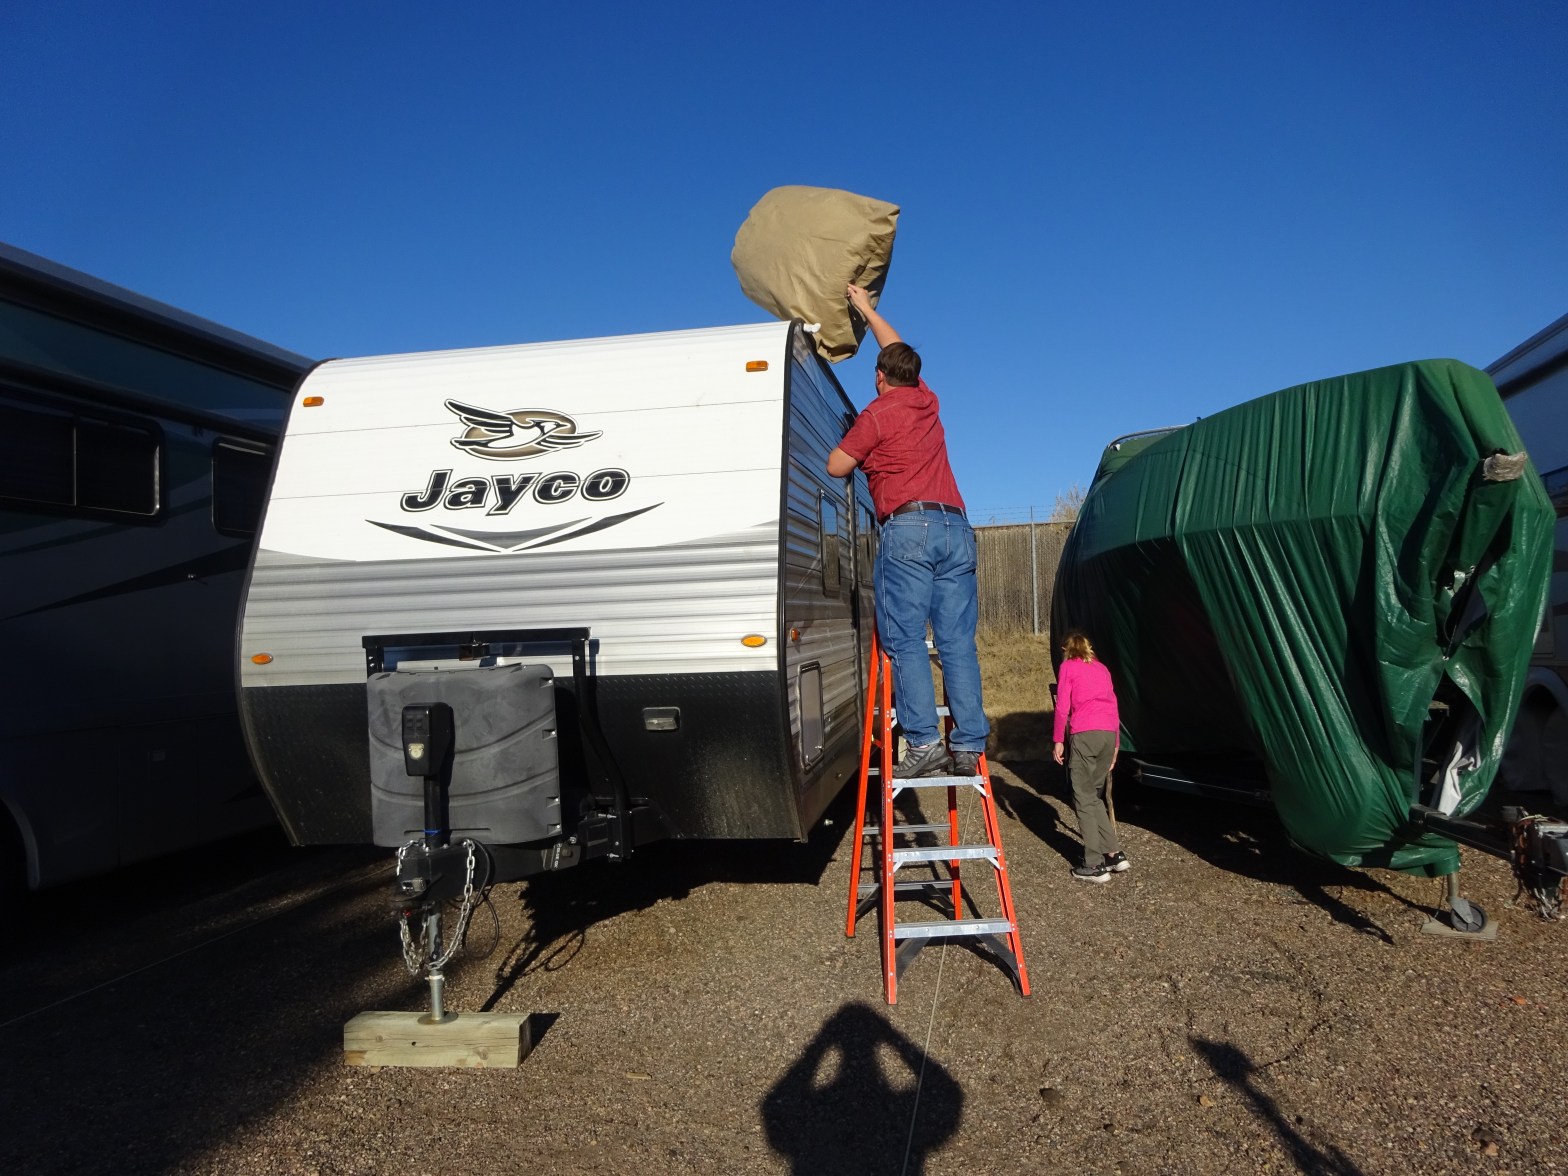
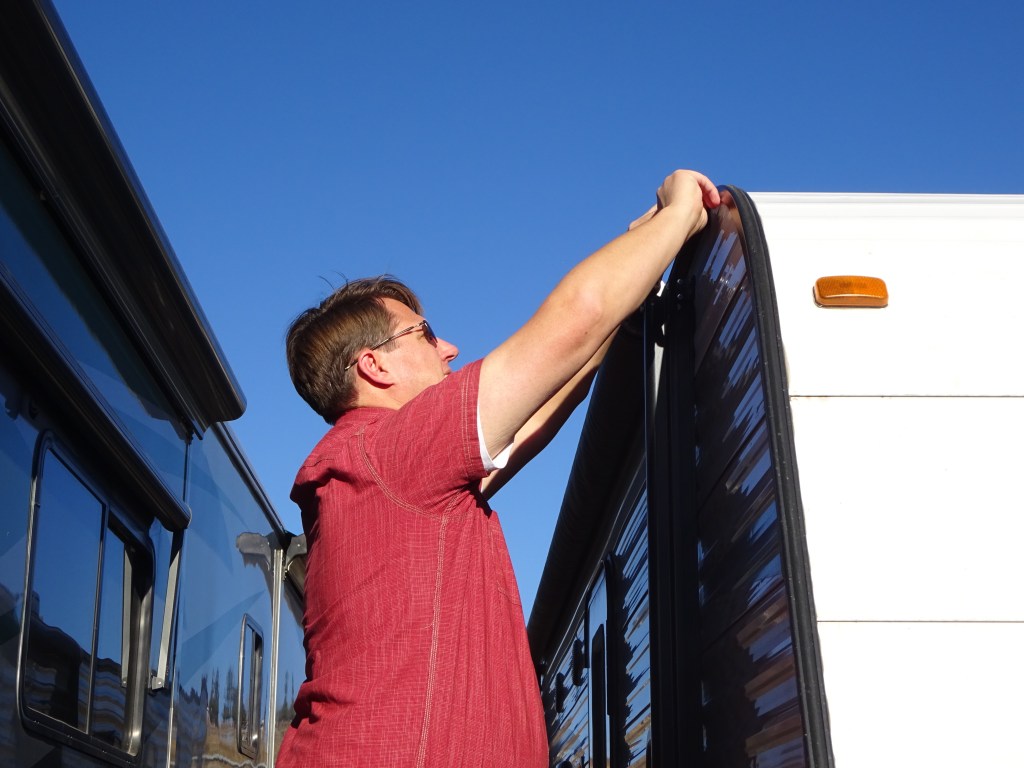
With the protrusion protection in place the cover can be installed. I find it is much easier to lift the cover onto the roof of the trailer and unpack it on top. Again, I find a sturdy ladder from the ground much better to lift the cover up rather than using the flimsy ladder provided on the back trailer. This is also where the 8 ft ladder would be much better then the 6 ft ladder.


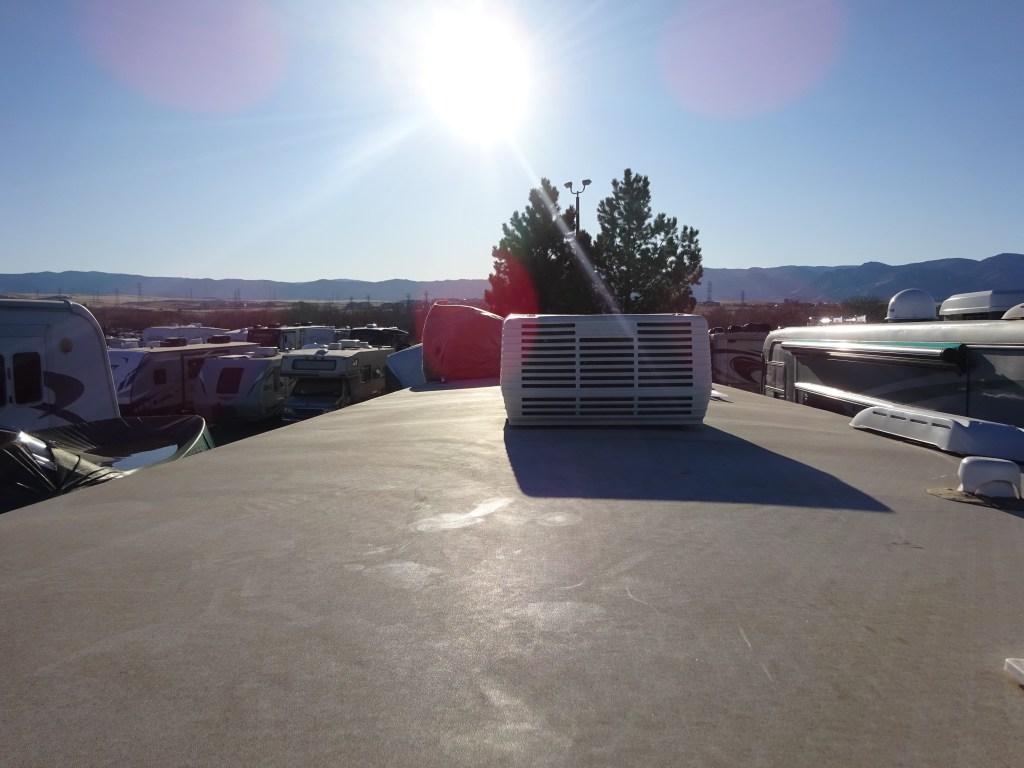
Now for the part I like the least, getting on the roof. While I am not afraid of heights, I have a healthy respect for them. I don’t like working at height without any railings or fall protection. Especially when I have to work at the edges of the roof. So this work does make me a little nervous.
While on the roof, I inspect for any damage or repair work that should be performed prior to the winter months. I don’t want a water leak to go unnoticed all winter. Also, to prevent any damage I lower all antennas into a stowed configuration.
When I put the cover away in the spring, I roll the cover up from the back to the front of the trailer. Since I know this I can pull the cover out of the bag, and start unrolling down the center of the trailer. I have the sides folded up, so after unrolling I can start spreading the cover out onto the sides. Having my wife on the ground to help pull the cover down is also a big help.

With the cover unrolled and draped over the edges, the last part is the hardest, getting the cover over the back of the trailer. This is point where I get more nervous about falling off the roof because space is getting limited. I work the cover over to the back edge away from the ladder and then work my way to the ladder. Once I get to the ladder, I work over the edge. However, since the cover it right at the length of the trailer it does take some work to get the cover over the edge to drape down.
With the cover draped over the trailer, the last part is to secure the straps under the trailer. The cover came with weights to connect to the straps and throw under the trailer so you do not have to crawl under the trailer. This works OK, but having a spare kid or two hanging around works even better. the kids are usually really bored at this point, and they think crawling under the trailer with the straps is super fun, so it’s a win for everyone.
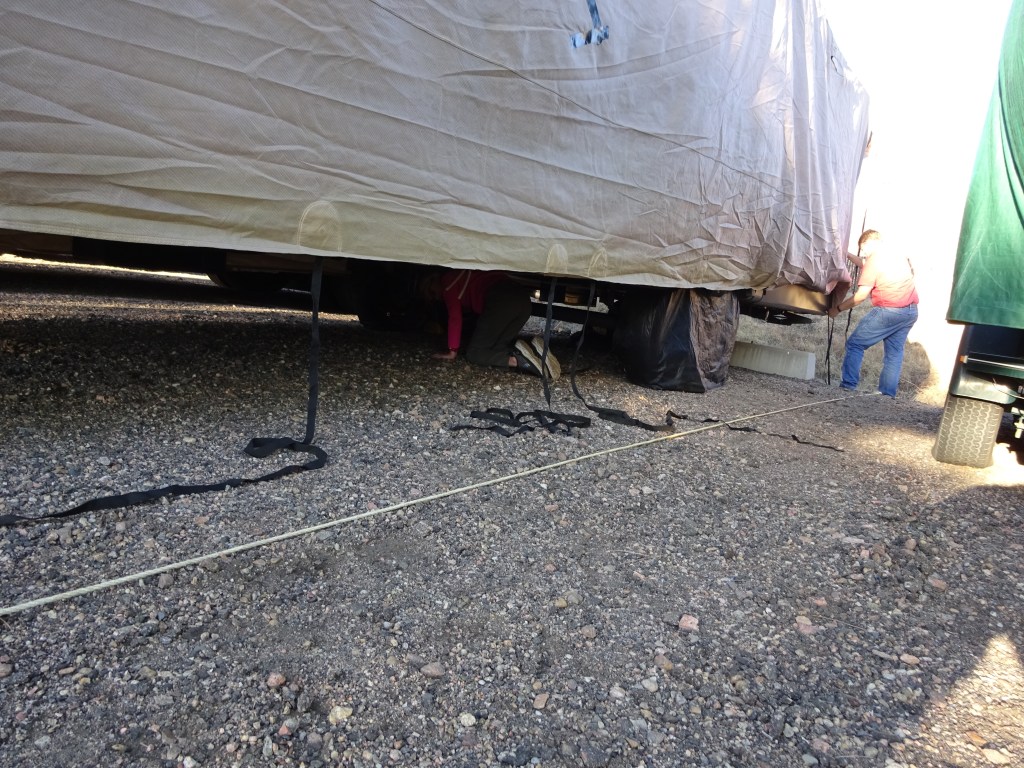
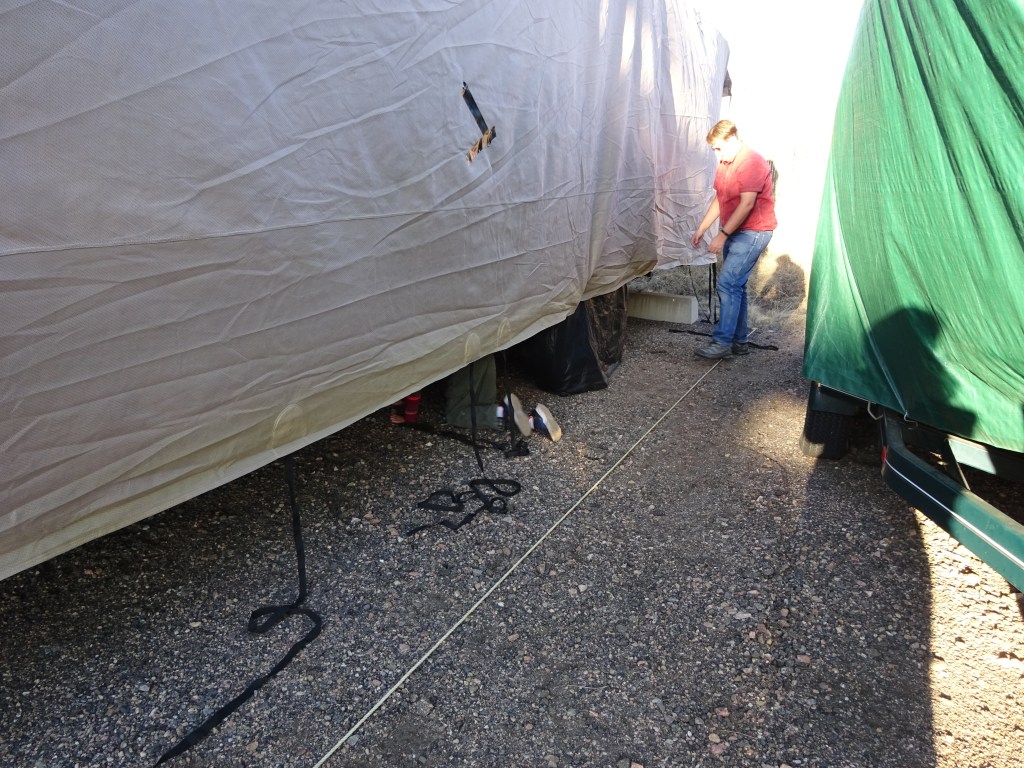
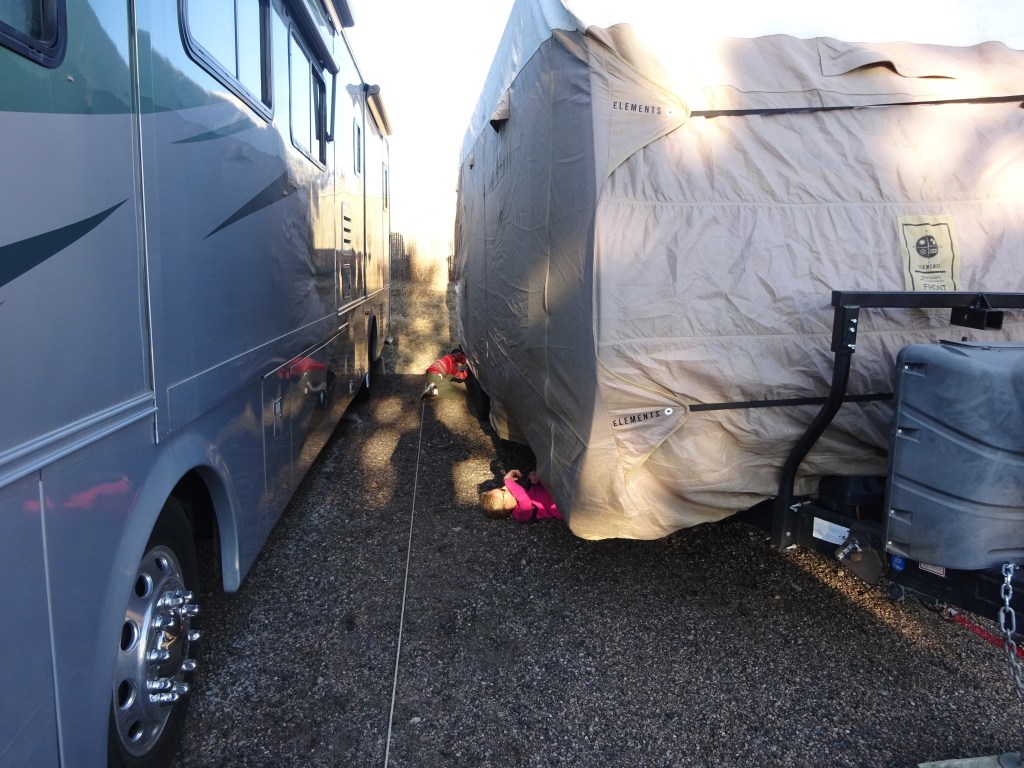
With the straps pulled tight to protect against the wind and tied up to keep dry the trailer is ready for the winter.


So We Went to the RV Show Blog contains affiliate links. By purchasing through these links, we get a small commission at no additional cost to you. As an Amazon Associate So We Went to The RV Show earns money from qualifying purchases.
