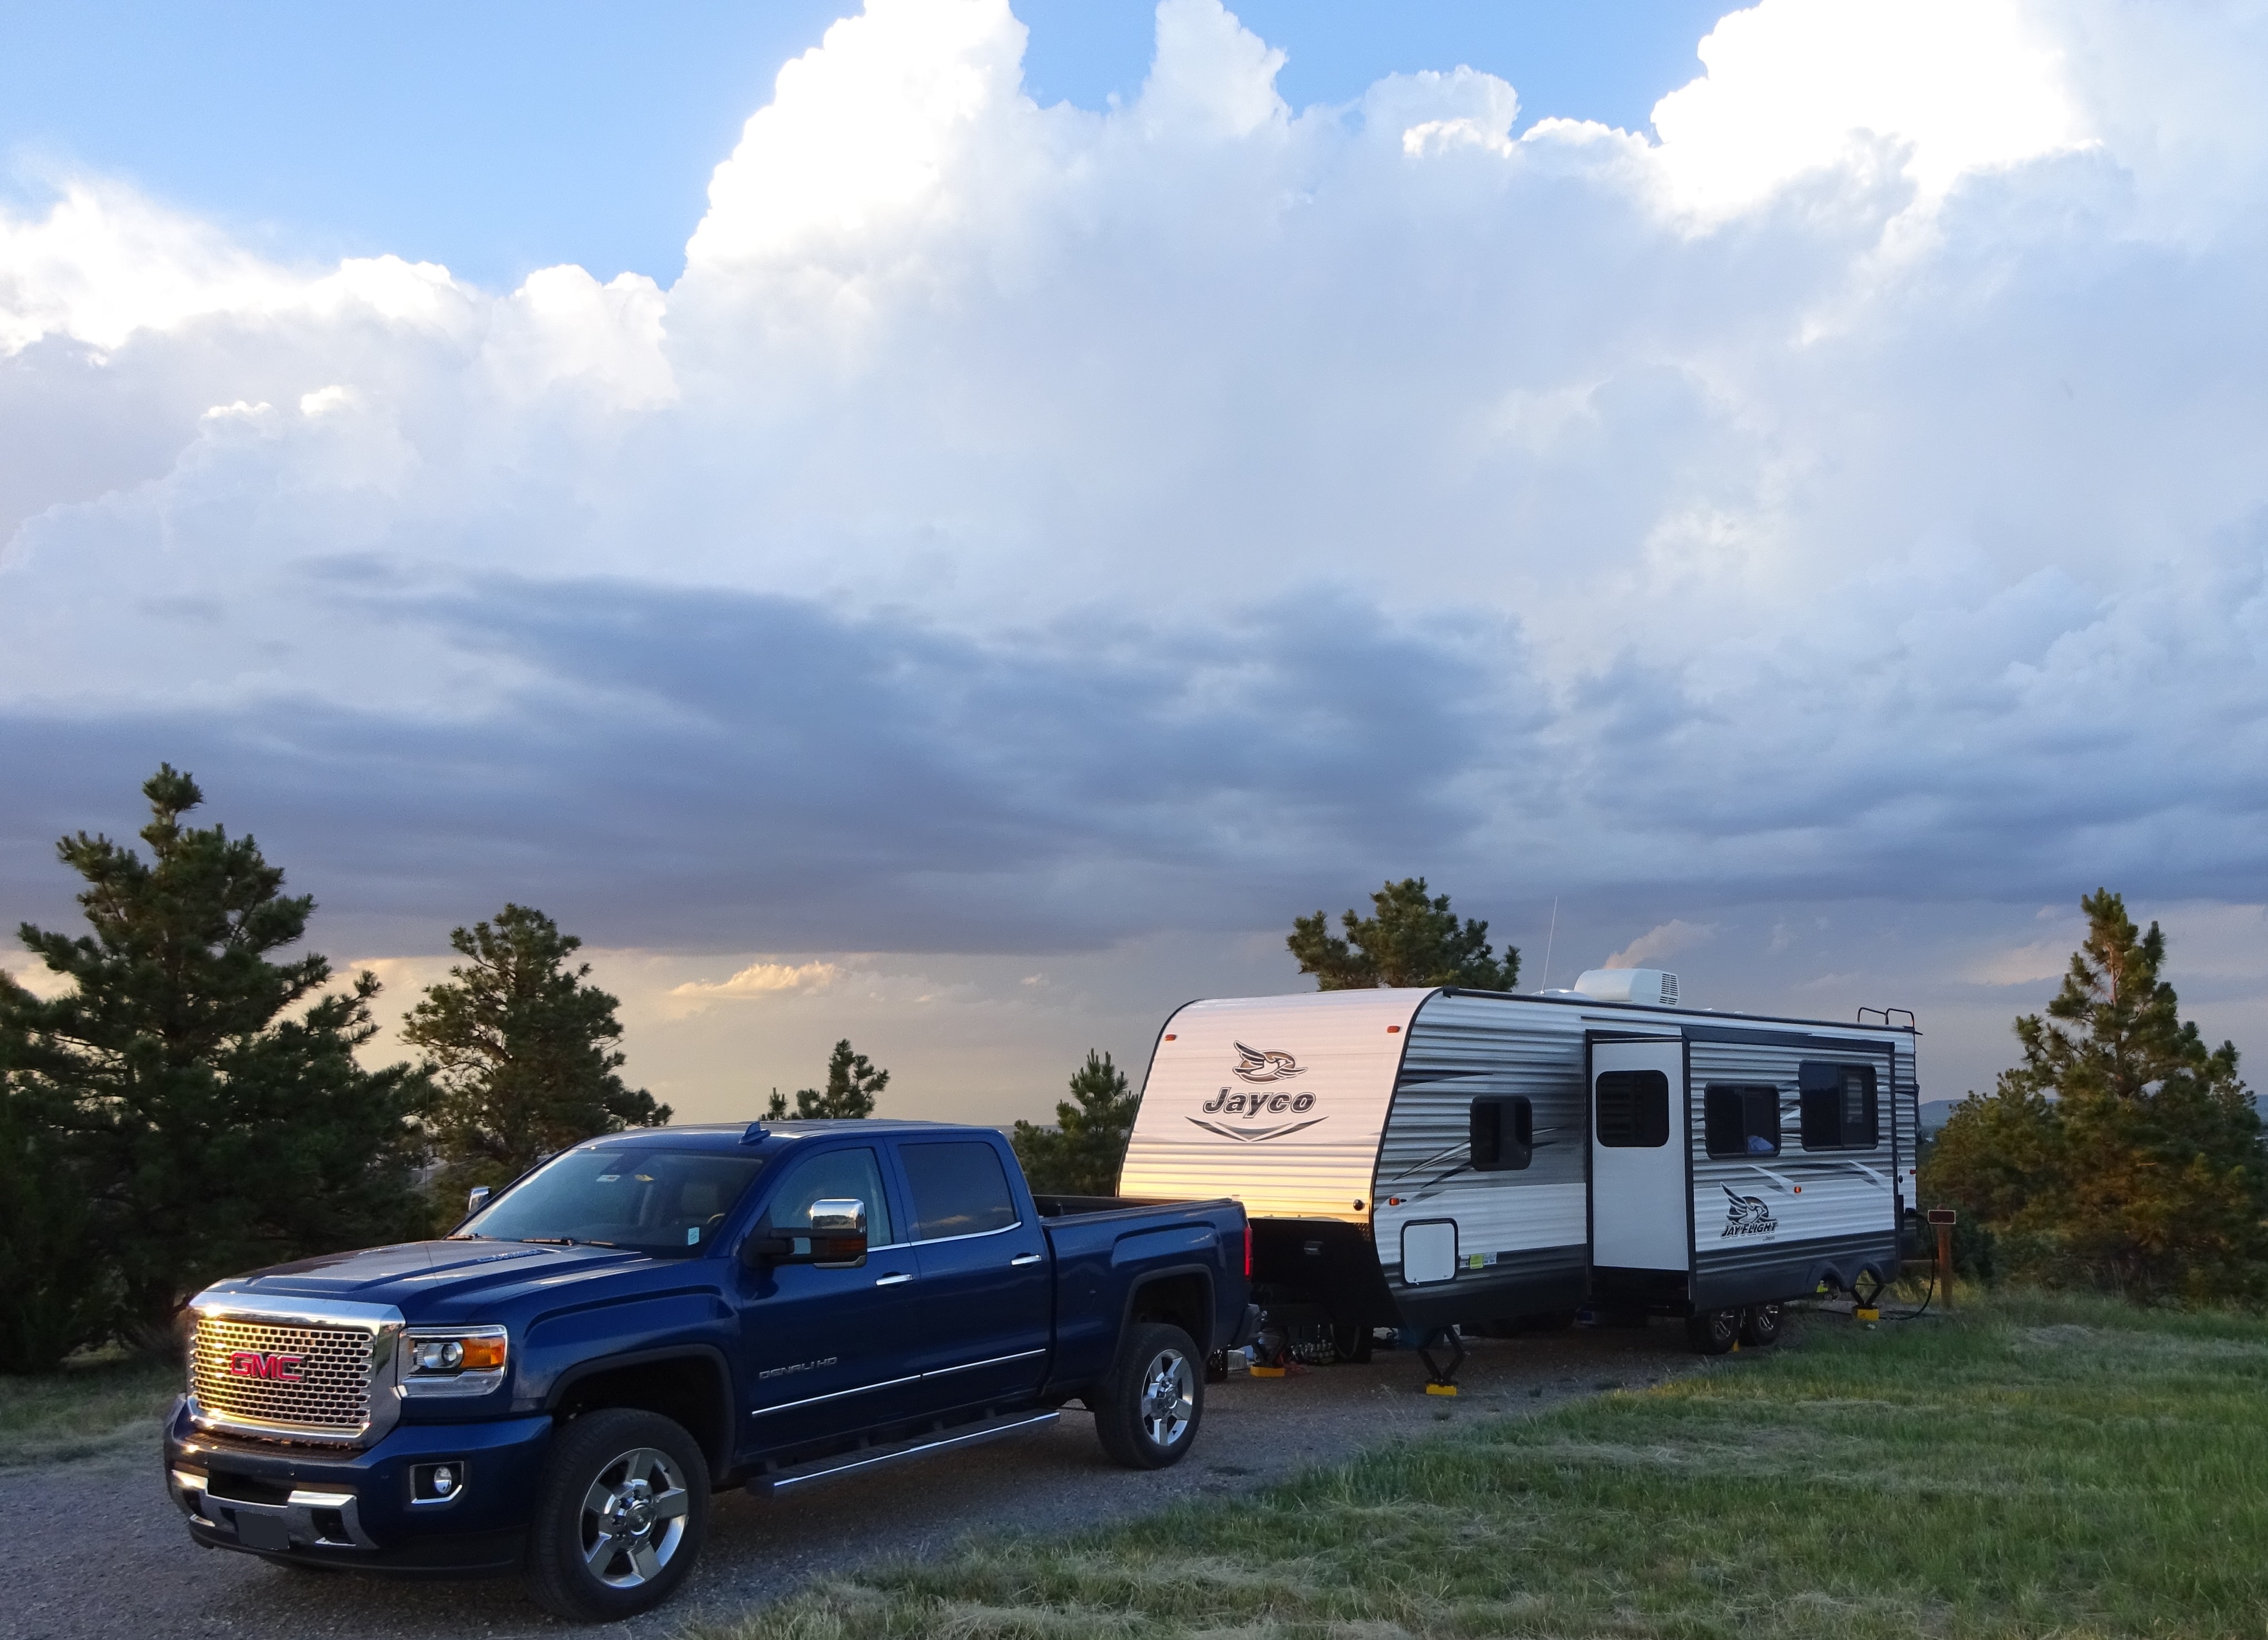
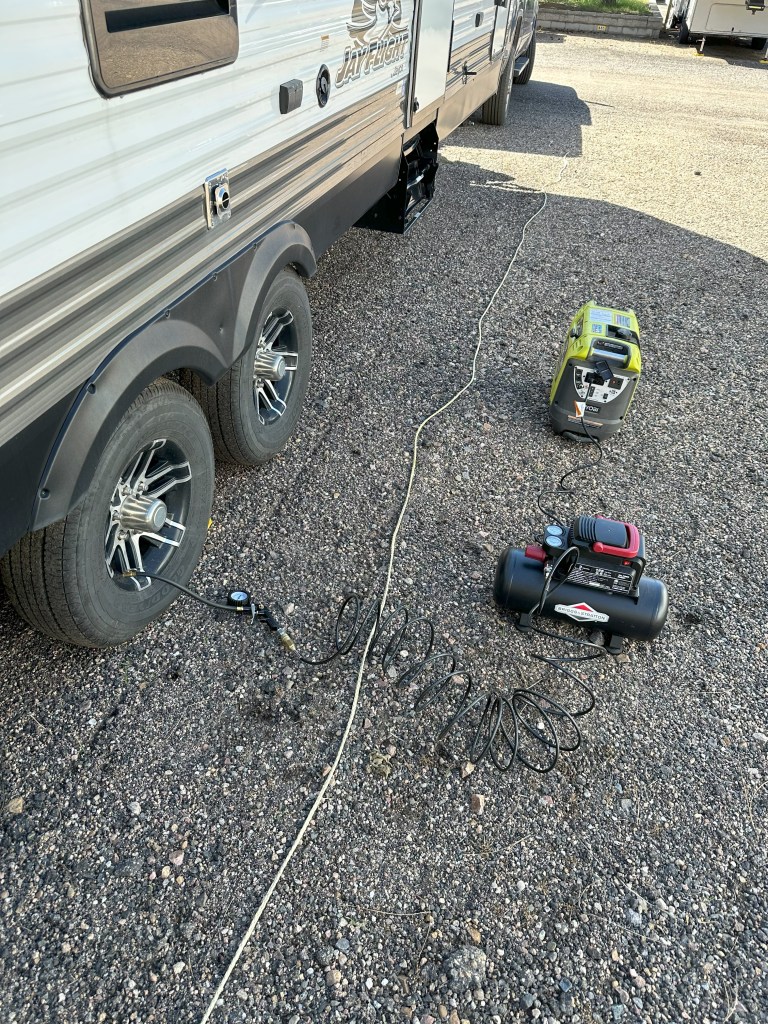
When I headed to the storage lot to pick up the trailer for our trip to Estes Park, I expected to have to add air to the tires, so I brought the generator and air compressor. Unfortunately, I found that one tire needed more than just a little air, it had gone completely flat since out trip to Eleven Mile State Park. This was an unpleasant surprise since this was a last-minute pick up of the trailer to pack and leave that day.
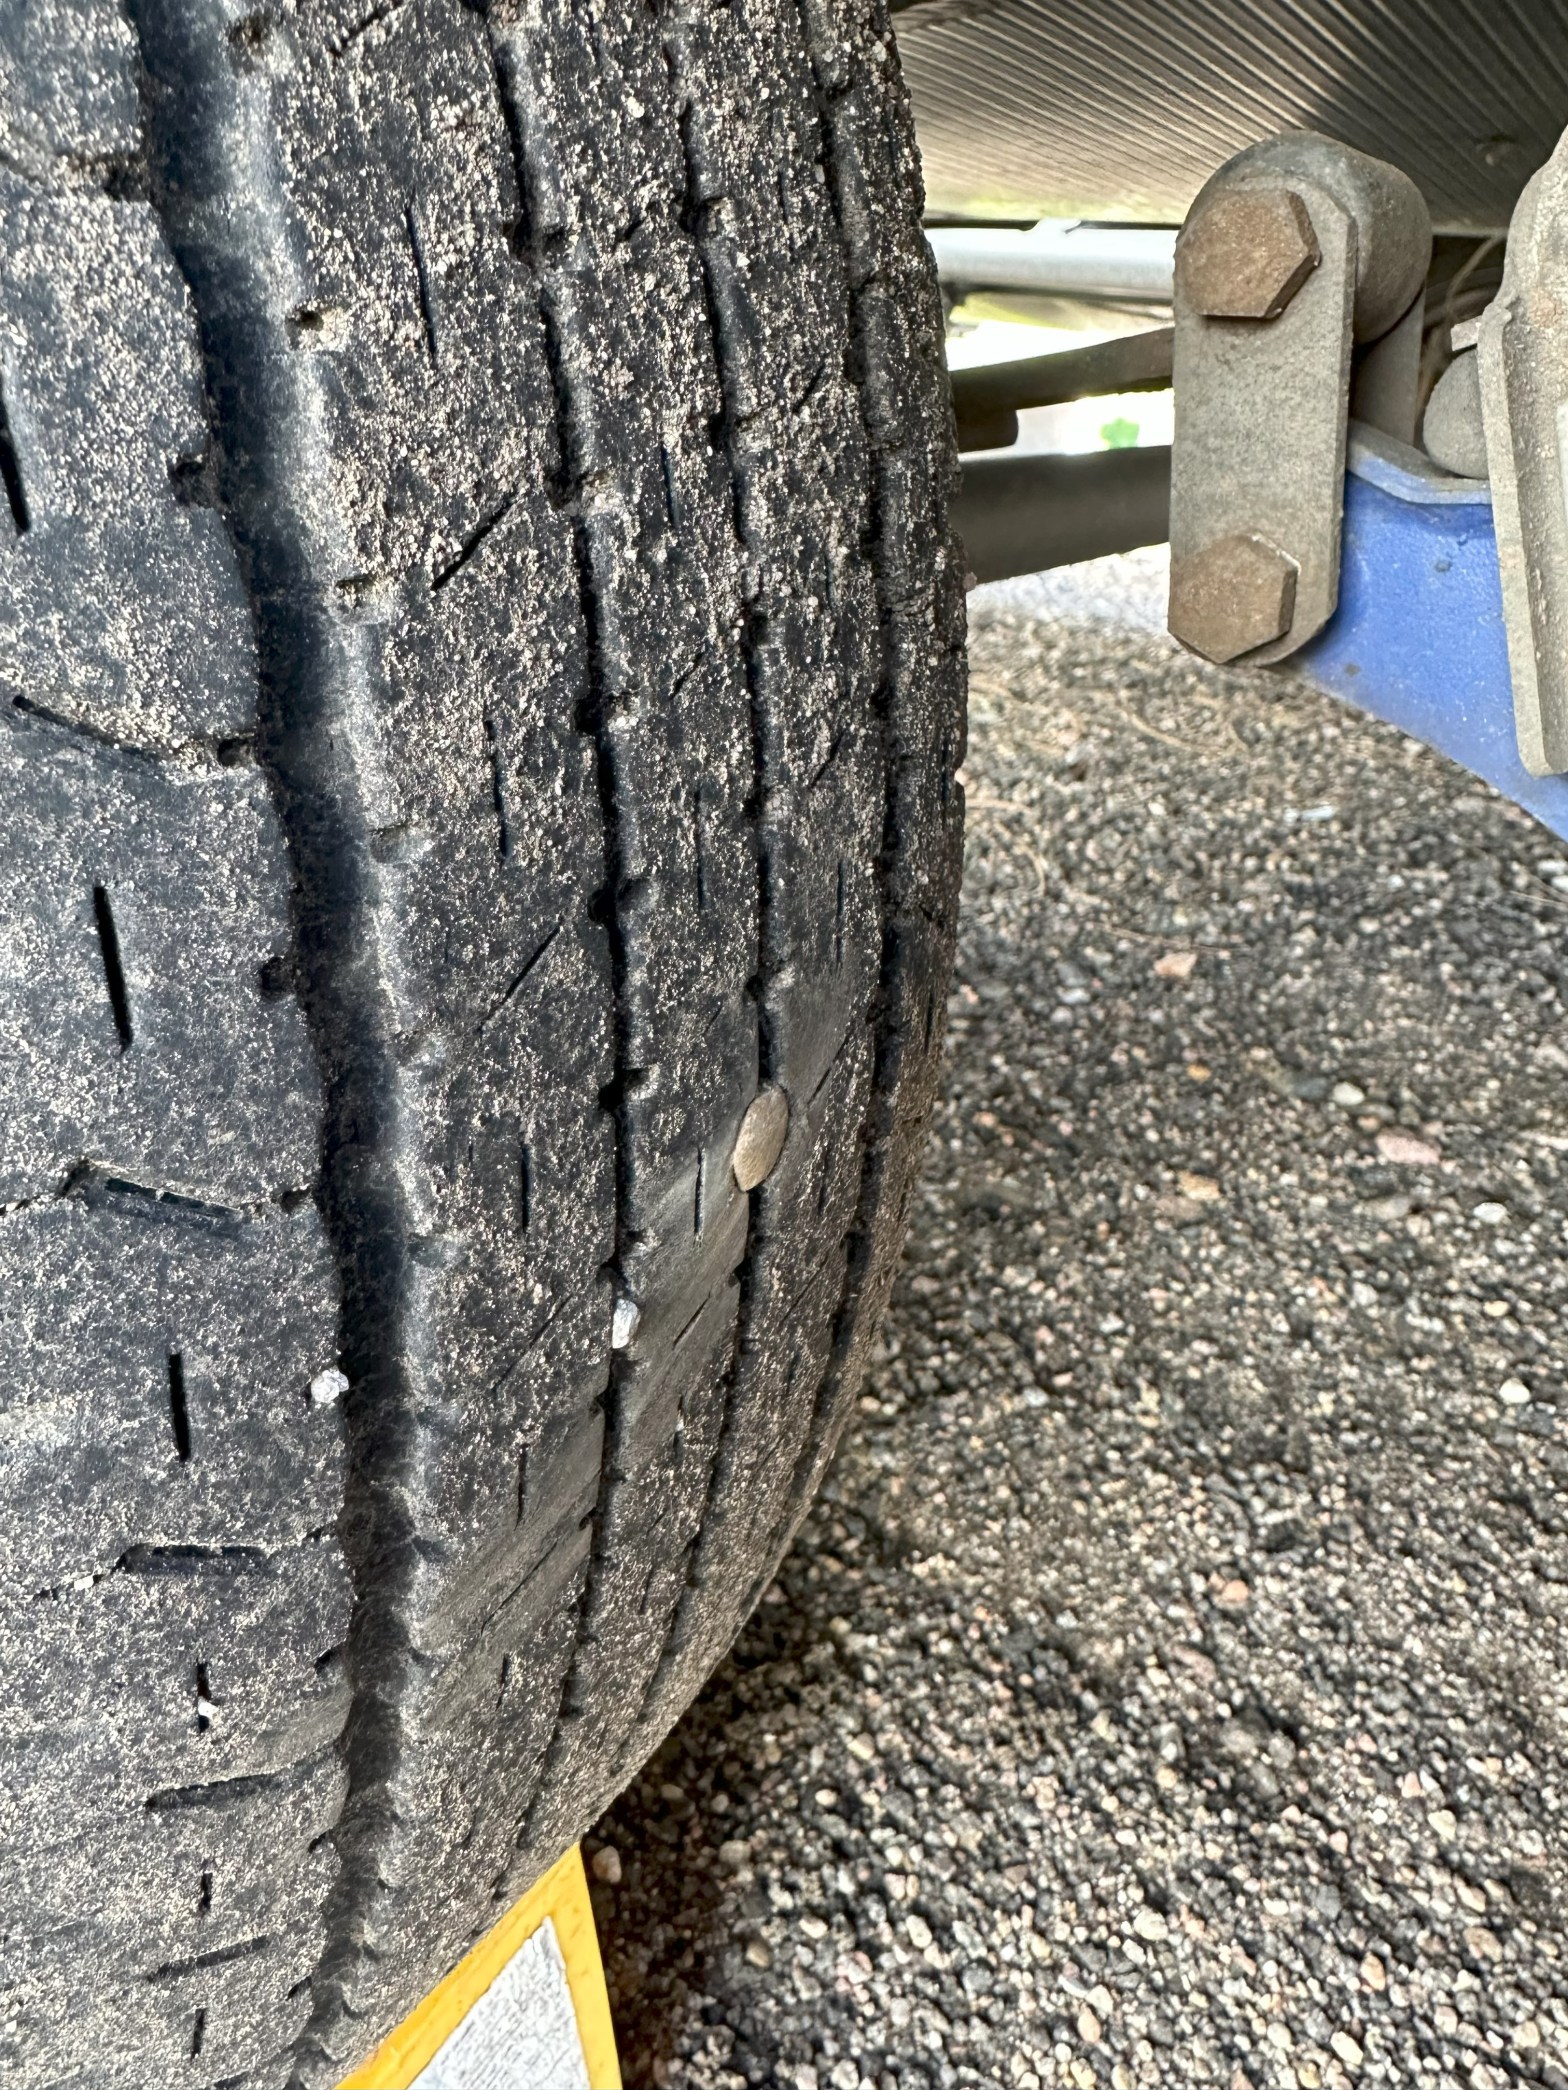
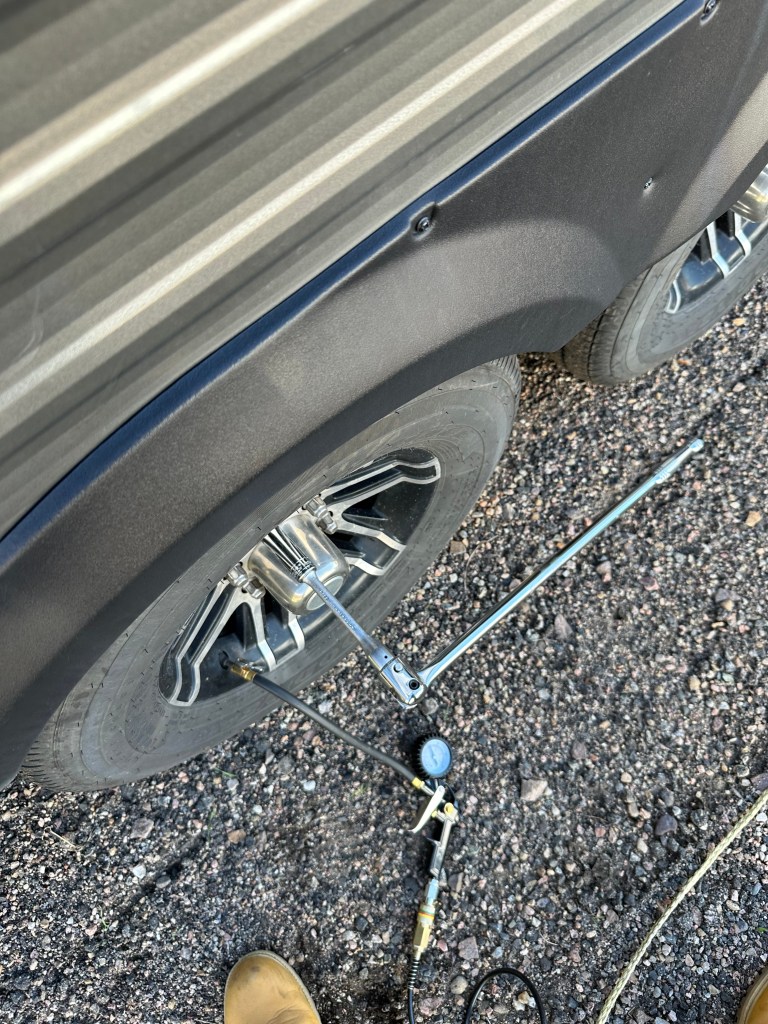
After a little bit of inspection, the cause of the flat was quickly determined to be a nail in the tire:

After finding the cause of the flat, I tried adding air in the tire so I could take it over to Big-O to have it repaired.
Unfortunately, the tire was not holding pressure, so I decided to use this as an opportunity to practice changing a tire on the trailer. Luckily, I had not had to do this before and I wanted to make sure I had all the right equipment with me in case this was needed on the road.
Step 1: Loosen Lug Nuts
Before lifting up the tire, it is easier to loosen the lug nuts. The weight on the tire allows the lug nut torque to be broken using a lug nut socket, extension, and breaker bar. The objective is to just break to torque of the lug nuts, not take them off or over loosen them. The tires still have the weight of the trailer on them.
Note: You can use a lug nut iron to remove the lug nuts. I have found the combination of the lug nut socket, extension, and breaker bar to work the best. The extension gets the tool away from the tire and trailer body while the breaker bar provides more leverage making it easier to loosen the lug nuts.
Step 2: Lift the Tire
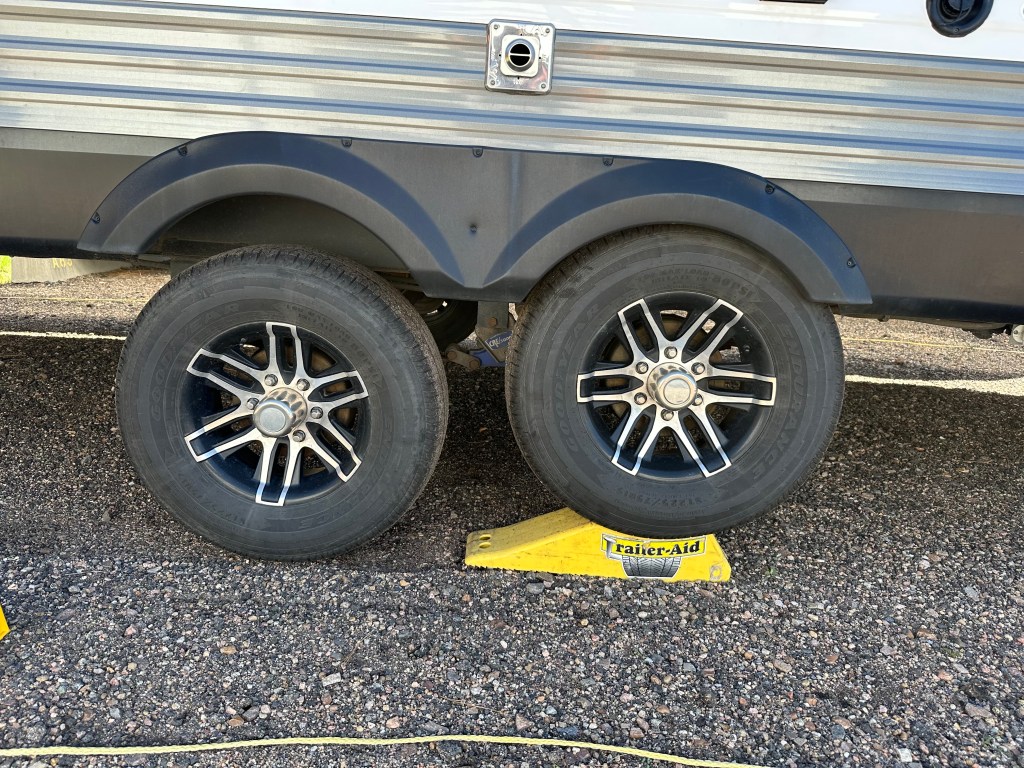
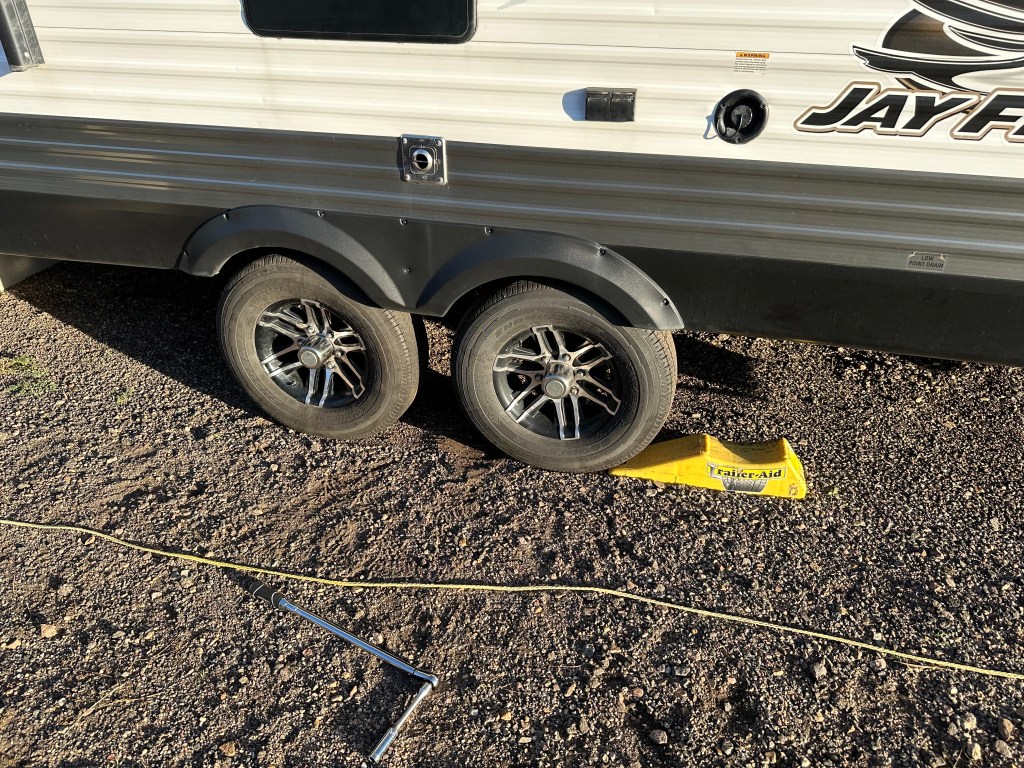
I have a Trailer-Aid tire changing ramp to use under the good tire. Because this is a tandem axel trailer, it can be difficult to life the tires of the ground using jacks, especially since the Jayco manual recommends against jacking under the axel and using the frame instead.
While I have a Trailer-Aid, leveling blocks could also be used to lift the tandem wheel.
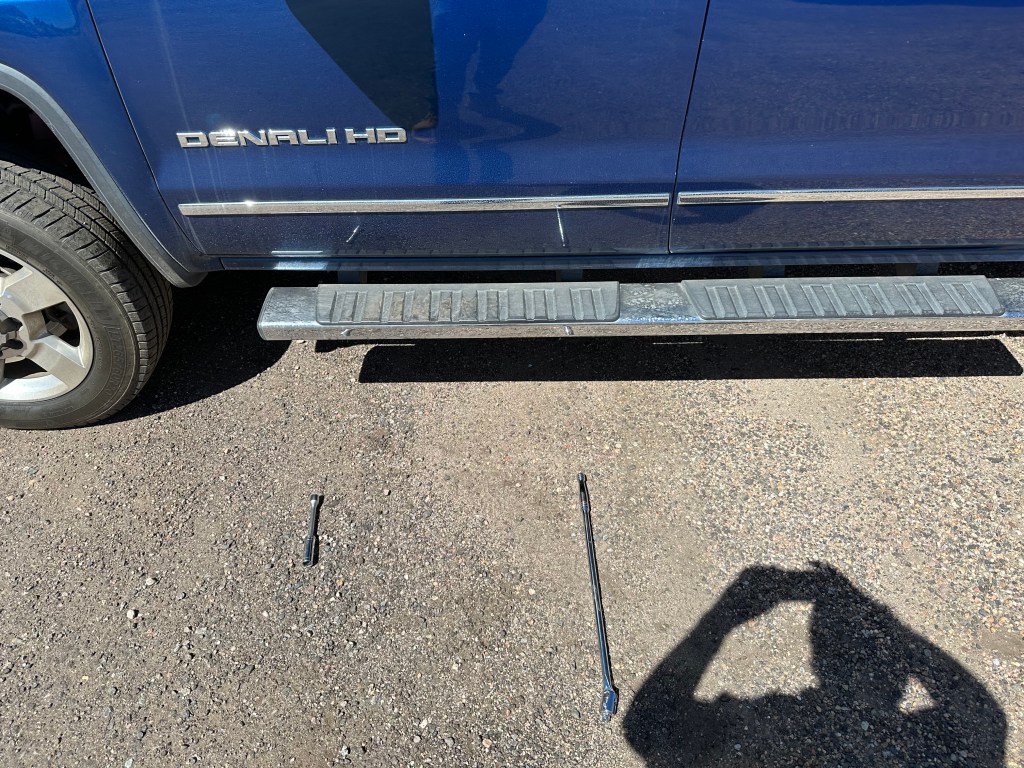
Since I was alone during this process, I had used a set of tools outside the driver door to mark how far forward I needed to move the truck to pull onto the Trailer-Aid. Any reference will do. I did end up pulling a little too far on my first attempt, but that was easy to correct.
After getting the good tire onto the Trailer-Aid, I chocked both wheels on the other side of the trailer.
Step 3: Remove the Tire

With the flat tire lifted up, I was able to take the lug nuts off and easily get the tire off. With the tire off, I loaded it up in the truck to get it repaired at Big-O.
Step 4: Tire Repair

Big-O was able to quickly plug the nail hole and have the tire ready to re-installation.
Step 5: Re-Install the Tire

Now I thought I was in the home stretch of getting the tire back on so we could head to Estes Park. Even though the tire easy came off when it was flat, it was not too tall to go back on the hub. I initially tried letting air out of the tire to see if I could get it to go onto the hub. However, I wasn’t able to let enough air our without getting so low I would run the risk of unseating the tire to get it onto the hub. So I had to try something else.

I decided to get the bottle jack out of the truck and use it to life the axel up high enough to get the tire onto the hub. While Jayco recommends not putting a jack under the axel, I decided that since the Trailer-Aid was supporting the other tire, there would be significantly less force being applied by the bottle jack to the axle than if this was the only way the axle was lifted.
The bottle jack worked great and I was able to get the tire back on the hub. In retrospect I could have used the leveling blocks to build a higher lift for the tandem tire, but since the tire was off I couldn’t change the configuration. Perhaps I will use the blocks next time if I need to change a tire.
Step 6: Install and Torque the Lug Nuts

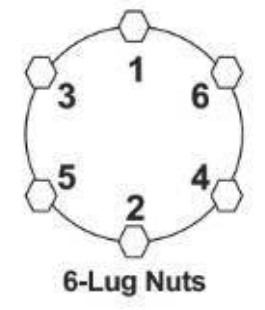
Using a torque wrench, extension, and lug nut socket; I tightened the lug nuts up in a star pattern with increasing torque from 50 to 95 then finally 115 ft-lbs. This walks the wheel onto the hub and ensures an even torque with all the lug nuts.
Note: If you don’t normally carry a torque wrench, you can use the breaker bar or lug nut iron to re-install the lugs and tighten them. You will want to take extra caution to check that the lug nuts are tight during the rest of your journey until you can use a torque wrench or have a tire shop properly torque your lug nuts for you.
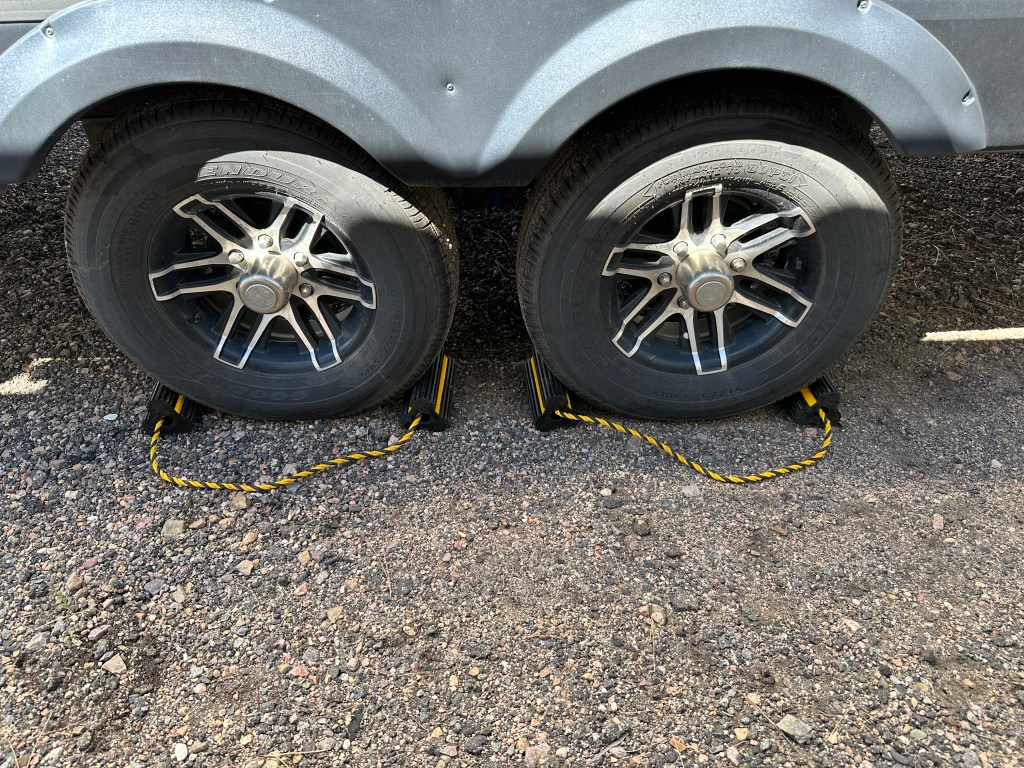
Step 7: Remove the Lift
With the tire and lug nuts secured, the trailer can be backed off the Trailer-Aid (after removing the chocks on the other side first).
Conclusion
It wasn’t too hard to change a tire on a tandem axle trailer and it was a good experience to practice in the storage lot rather than the side of a road. I recommend practicing with the equipment you normally carry to make sure you are ready to change a tire if needed.
The biggest surprise I had was the Trailer-Aid lifted the flat tire high enough to be removed when flat, but it was not high enough to put the repaired tire back on. Our Trailer-Aid is older and does not have the “Plus” feature that provides an additional 1 inch (5 1/2 inches total) to lift the good tire. I am not sure 1 inch more would have been enough though. However, I do like that the Trailer-Aid cradles the good tire to help reduce rocking once lifted.
Please take a moment to follow us on X, Facebook, WordPress, or Instagram to hear more from So We Went to The RV Show:
Or subscribe to receive email updates:
So We Went to the RV Show Blog contains affiliate links. By purchasing through these links, we get a small commission at no additional cost to you. As an Amazon Associate So We Went to The RV Show earns money from qualifying purchases.
So We Went to the RV Show Blog is not affiliated with Big-O.
